Wedging, throwing, drying, firing… Before you get to glazing, your piece has already gone through quite a few steps. And it’s a good idea to read this article before getting started with glazing. You’ll learn exactly what glazes are, what they are for, how glazing can make your ceramics more beautiful, stronger and more durable, how to make them and how to apply them.
What is glazing?
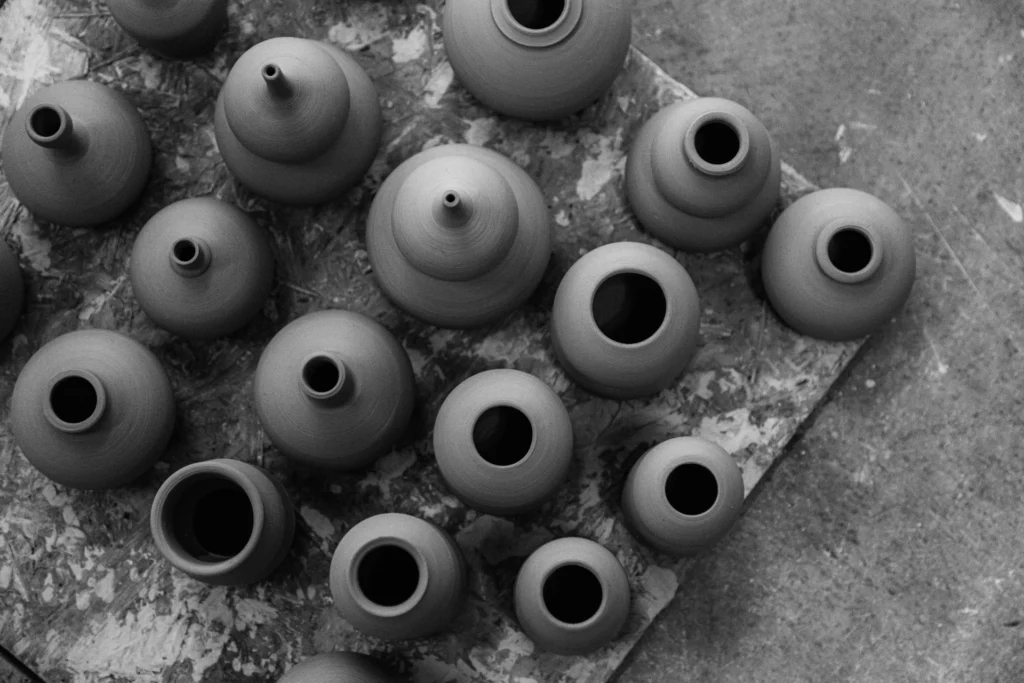
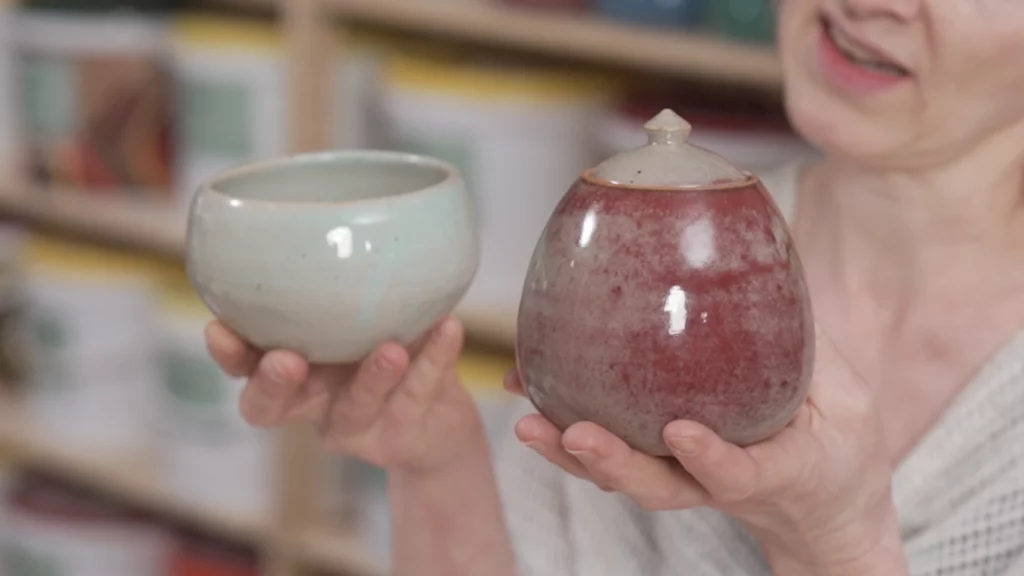
Glazing is a technique where you apply a layer of powder, the glaze, on your pot after the first firing or bisque firing. After a first trip to the kiln, your pot is still porous and soaks up the glaze well. And that means liquid glaze will easily adhere to it.
How glazing makes your pots better
Glazing is not a mandatory step when you’re turning clay into ceramics. On the other hand, most potters don’t skip this step. And here’s why:
- Glazing makes your pot waterproof. (Although unglazed clay can also become watertight if you fire it to its sintering point, but that is a story we’ll save for another blog post).
- It also gives your piece a finished look.
- Glaze offers an extra layer of protection. Very useful when it comes to objects you use every day, such as coffee mugs or plates.
- By glazing it, you also protect your work from weather conditions.
Buying glazes in the pottery shop
Many potters buy ready-to-use glazes so they can get started quickly. But it’s important to first consider a few things. On what type of clay will you be applying this glaze? What temperature will it be fired at? What colour effect do you want to achieve? Which decoration techniques will you use? Which ingredients should or should not be in the glaze? Some ingredients are more toxic than others, and you don’t want to apply those to your new set of coffee mugs….
It’s a lot to think about. And there’s a lot of information to process when you’re reading the labels of glazes. Making and using glazes correctly and efficiently has, just like creating new ones, quite a learning curve. That is why we created a handy, clear and structured course on how to make and use glazes: Preparing and applying glazes.
After this course, you will be able to glaze with the best of them. You’ll learn how to use industrial glazes, from brands such as Botz, Mayco, Amaco, Terracolor and Duncan. But you will also learn how to mix a glaze based on a recipe. Just like cooking recipes, but different …
Applying glazes to clay
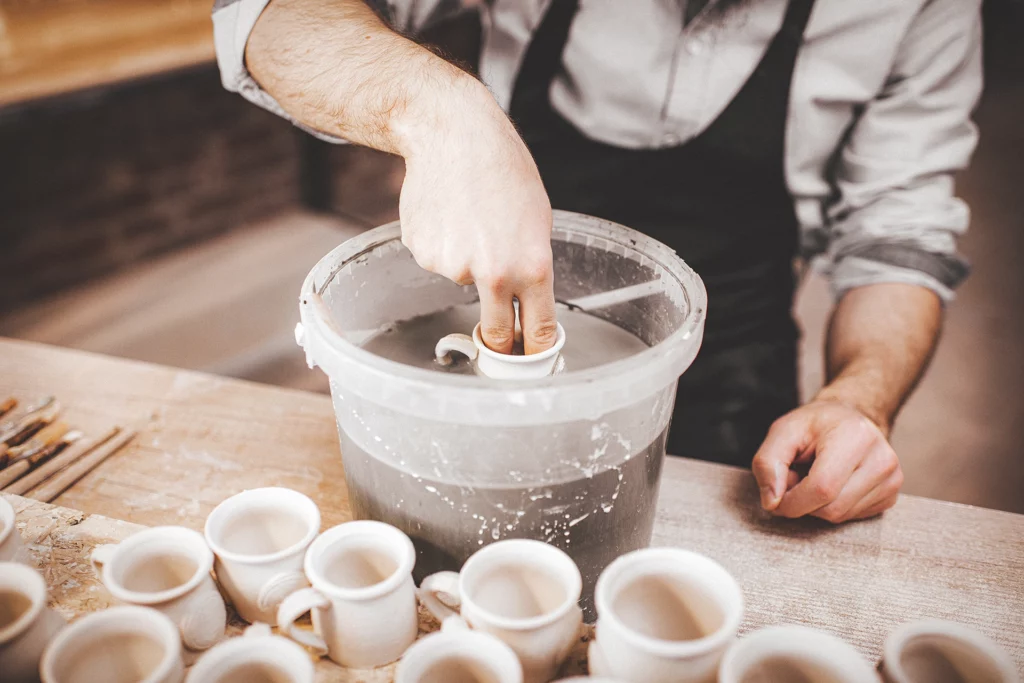
Just like there are different types of glazes, there are also different ways to apply glazes to clay. Most beginners start with a brush, dip their work into glaze or pour glaze over it. But there are many more creative ways to glaze clay.
Bubble glaze
You can apply your glaze to your work using soap bubbles. It’s a cool technique that is very easy and fun to do.
Splattering glaze
Want to create a playful and dynamic design on your work? Then start splattering! You can do this with a paintbrush, a toothbrush or a nailbrush. TIP: Put your piece on your pottery wheel and let it spin all around so you get even splatters.
Stamping
Applying glazes on the clay with stamps requires some skill and knowledge. For example, you need to know which pigments to use and which firing temperature to choose. For example, which pigments to use and which firing temperature to choose.
Mixing glazes
A good glaze contains three groups of ingredients: glass formers, fluxes and stabilisers.
-
Glass formers create a glass-like layer. The most important glass former is silicon dioxide (SiO2, silica), which can be found in sand or quartz. Glass formers melt only at very high temperatures.
-
Fluxes lower the melting point. Fluxes include potassium oxide, sodium oxide, magnesium dioxide, lithium oxide and calcium oxide, which are found for example in feldspar, dolomite, talc or chalk. Lead used to be used as a flux but it’s no longer in use because it is highly toxic. Fluxes ensure that the glass formers melt at a lower temperature, ensuring they melt and flow more easily.
-
Stabilisers ensure that the glaze stabilises. They result in a good viscosity. In other words, stabilisers ensure that the flowing of the glaze stops at the right time. Think of poles that keep a tent upright. The most important stabiliser is aluminium. It can be found in different types of clay: ball clay, kaolin, bentonite.
In principle, every recipe consists of these three elements. So if you’re making a transparent, neutral glaze, you only need the above oxides. When you’re making a coloured glaze, metal oxides such as copper and iron oxide are added. Nowadays, there’s also a wide array of colour pigments you can use to add colour to glazes. Most pottery shops sell ready-to-use glazes in all the colours of the rainbow.
If you want to create your own glaze, you need to learn what glazes are, which ingredients can be harmful to your health and the environment, and which tools will make your attempt a success. Our online course Understanding and creating glazes is tailored to potter who want to make their own glazes.
Most ceramists start with a transparent base glaze. This base glaze has been thoroughly tested by experienced potters. So it won’t give you trouble if it ends up in cooler places in the kiln, it won’t recede, it won’t get blisters or tears, and it won’t easily crack or scratch. You can find all kinds of recipes to try out via Glazy.org.
You make this base glaze based on what you want to achieve with it. At what temperature will you fire your piece? Will the glaze be applied to earthenware, stoneware or porcelain? What shapes are you planning to make? Are they functional pieces or pieces that will come into contact with food? All of these answers will lead you to a specific recipe that contains specific ingredients.
You may have realised: making glazes is both an art and a science. Some professional guidance – for example via our online courses – is definitely highly recommended.
Lastly: be careful with glazes
Whether you’re buying your glazes or making them yourself, they always contain substances that can be harmful to you and your environment. So never, ever pour leftover glazes down the sink. Some substances should not end up in the sewer system. You should also wear a dust mask when creating new glazes and gloves when you’re mixing them. And make sure there is enough ventilation in your workshop.
So what do you do with leftover glaze? Very simple: you take them to a recycling centre. They are considered small hazardous waste.
You can read more about precautions concerning glazes in the blog post ‘Are glazes dangerous?