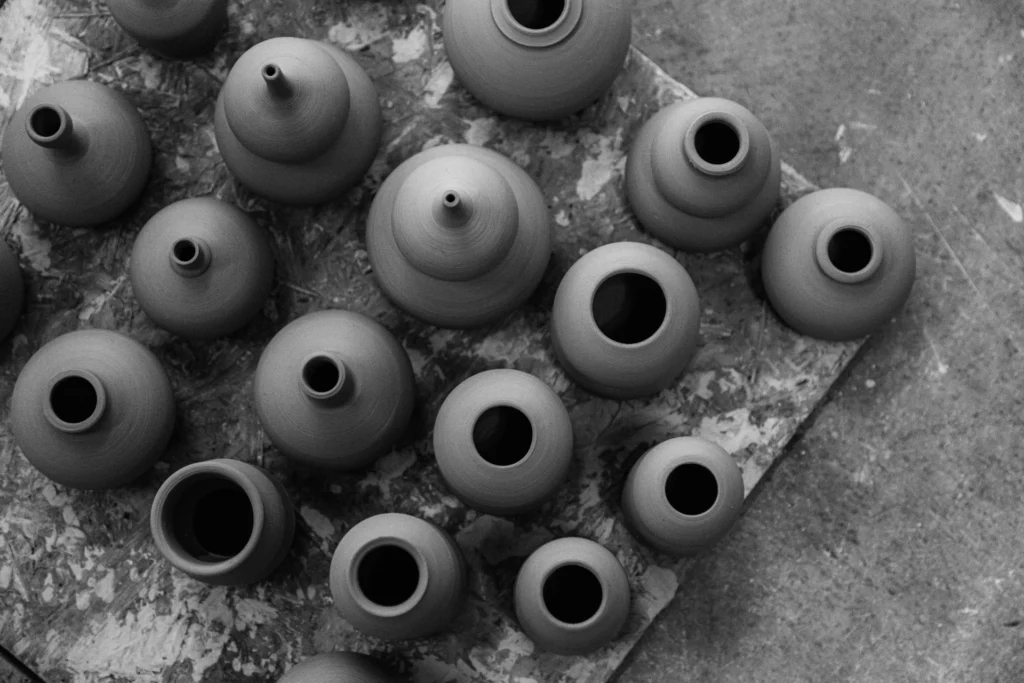
If you had to throw away the clay after every failed pot – that would be quite the waste. Fortunately, you can recycle clay. As long as clay has not been fired yet, you can turn it back into plastic clay. So actually, it rarely happens that you need to throw away clay.
Sorting
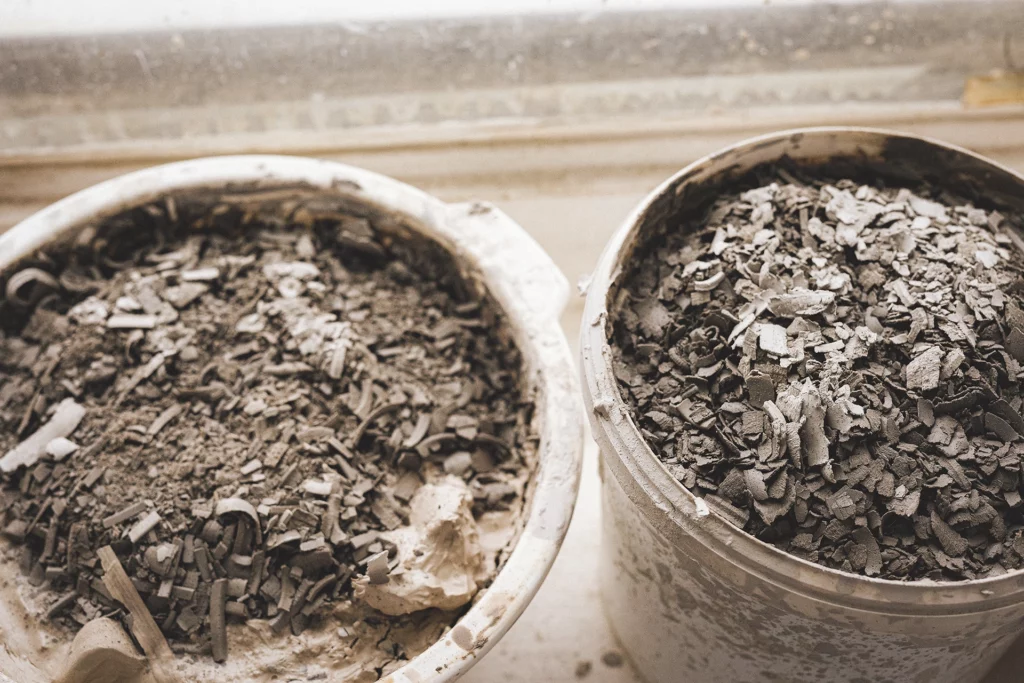
Before you can recycle clay, you have to sort it properly. To do this, you need a number of buckets that can be sealed. In this case, we are talking about recyclying clay with the same firing temperature and the same amount of grog.
When recycling, you have 4 types of “waste”: the wet pieces, the slip, the leather-hard pieces and the clay that was removed when trimming. If you use a wheel, sorting goes like this:
- Wet pieces: you are throwing a pot and it fails. Push the clay back together a bit and put this chunk of clay on a plaster slab for a while. Then keep it wrapped in plastic or store it in a plastic container. The next day, after wedging it well, you can reuse the clay.
- Slip: you empty the splash pans of your potter’s wheel and your slip bucket into a large bucket once you’re done throwing. In this large slip bucket you store all of the leftover clay that is very wet as well as clay slip. You can also pour the clay slip that has settled in your throwing water in there. After a while, all the clay particles in this bucket will sink to the bottom and you can scoop the water out or carefully pour it out or suck it up with a large syringe or a precision applicator. You can then reuse this water to throw with next time.
- Leather-hard: during the drying process or while trimming your work, things can still go wrong. This clay is leather-hard. Break these pots into pieces and collect them in a large bucket that can be sealed. Bits of clay that came off during trimming also go here. Don’t close the bucket completely so that everything can dry, but don’t leave it completely open, because clay turns into dust and you want to avoid that as much as possible.
- Dry – bone dry: Finally, it can also happen that you damage a dry piece just before the bisque firing, or decide not to fire something after all. In that case the clay is already dry or even bone dry. Collect these dry pieces in another separate bucket. Put the lid on loosely.
Remember that as long as the clay has not been fired, it can always be made plastic again. And slip can also always turn back into perfectly plastic clay once the water has dried out. So never just throw away clay slip, slip water or the sediment at the bottom of your clay buckets. These contain the finest clay particles. If you do not incorporate these particles in your recycled clay, the quality of the clay will be lower because the clay particles won’t stick together as well.

What do you need?
To recylce clay you don’t need much, only some muscle power and a lot of patience. Make sure you have a few buckets that can be sealed and a plaster slab. You can get this plaster slab ready-made at the pottery supply store, you can buy a block of plaster at the hardware store or DIY store, or you can make it yourself. It’s good to have some fabric on hand, like an old pillowcase, and some plastic to wrap your recycled clay.
From slip and dry clay to plastic clay
So what do you do to turn the slip and the stored dry clay leftovers back into plastic clay?
- Take the bucket of (bone) dry clay and make sure the pieces in it are not too big. If necessary, break them into smaller pieces with a hammer. Go outside to do this, since it creates a lot of clay dust.
- Put the bone-dry clay leftovers in the bucket with clay slip and mix well.
- Now let this mixture rest overnight or longer. The dry pieces of clay will suck up water from the slip and the mixture will become more solid.
- Make sure the clay slip is reasonably firm before you put it on the plaster slab. The wetter it still is, the longer it will take before the slip has dried enough. Moreover, the slab will get very dirty if your slip is too liquid. It can be quite a thick layer, say about five centimetres high.
- Let the clay dry on the plaster slab. The moisture from the clay will soak into the plaster. Keep an eye on it and make sure the top does not become too dry. If necessary, you can put a piece of plastic on top.
- After a while you can pull this big slab of clay off of the plaster slab and turn it over.
Once the clay no longer sticks to your fingers, but is still soft (the same consistency as fresh clay from a pack), pull off large pieces of clay. Push the pieces together to create a big roll of clay. Roughly wedge the clay a bit already, and then place it upright on the plaster slab to continue drying.
- Regularly check how the clay feels until it has dried enough. Now you can wrap the rolls of clay in plastic.
- Make sure to thoroughly wedge the clay before you use it.
Also, most potters mix in fresh clay with their recycled clay, with a ratio of one part fresh clay to one part recycled clay. Good luck!