You have probably been working with ceramics for a while, but you may never have fired your own work by yourself. You already took (online) lessons, courses and/or workshops or maybe you went to an open studio. In many pottery studios your pieces are fired for you.
So once you’ve bought your own kiln, it can be quite exciting to do the firing by yourself for the first time. That’s why we want to share some tips on how you load the kiln and prepare it for firing.
Tips for the bisque firing:
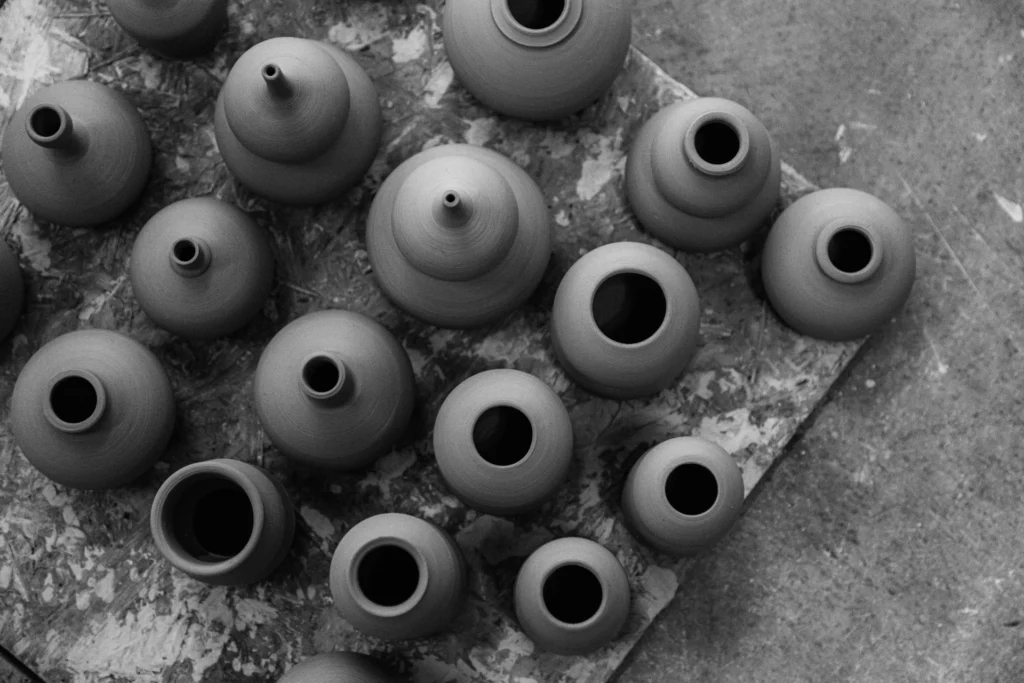
- Make sure your work is absolutely completely dry.
- Put the flat supports on the bottom of your kiln, in a triangular shape. Don’t block the vent in the bottom. Tip: if you put one of the flat supports right about where the thermocouple is, you will always know where to find the tip of the triangle shape. Place an kiln plate and remember where you placed the supports.
- Now place the next set of kiln plate supports in roughly the same place. Use kiln plate supports that are higher than the pieces you are going to fire.
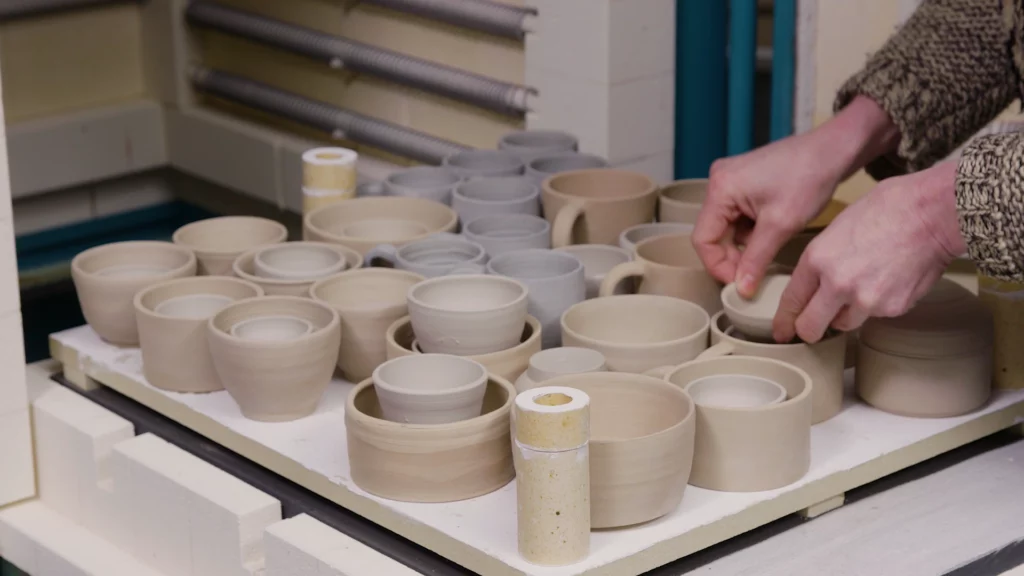
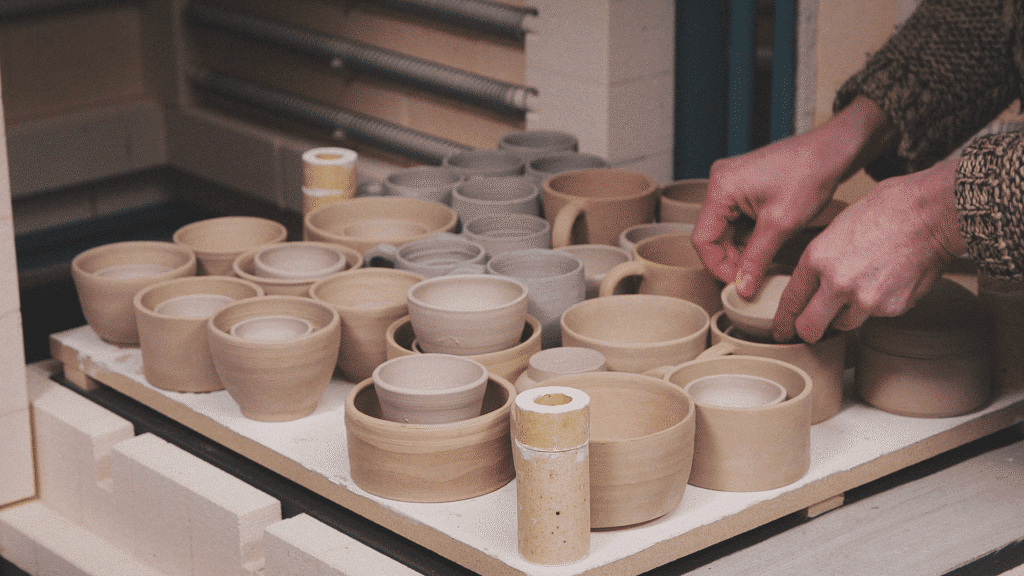
- Place the completely dry pieces on the plate. With unfired pieces, be careful to hold them with two hands so that you don’t break them. The clay is really fragile in this stage.
- You can stack pieces in and on top of each other, but make sure there is enough space in between them. The clay will expand a bit before it shrinks, so there really needs to be some room for all of this movement.
- Pick out pieces that are about the same height and stack them on the plate.
- Don’t stack too many of them on top of each other, so one piece doesn’t end up bearing too much weight.
- When stacking, leave enough distance from the spirals.
- Make sure that the bottom part of each of your pieces is fully on the kiln plate. The rounded part of the wall can stick out a bit over the edge of the plate, that’s not a problem.
- Once the kiln plate is full, move on to a new kiln plate and make the next layer. Start by placing the appropriate supports first, so you can more easily see where to put your work.
One more tip: Put low pieces on the bottom plates, finish with a layer of high pieces (if you have any, of course).
Tips for the glaze firing:
- For the glaze firing, it is important that the bottoms of your pieces don’t have any glaze. So clean them well, even if the bottoms are covered with wax.
- It is also a good idea to protect your kiln plates with bat wash, you can read more about it here. This makes it easier to repair them if you do end up getting glaze on them.
- Again, you start by putting the flat supports in a triangular shape on the bottom of your kiln. Don’t cover the vent. Place an kiln plate and remember where you placed the supports.
- Now place the next oven tray supports in roughly the same place and put your pieces between them.
- Unlike with a bisque firing, glazed pieces absolutely cannot touch each other. So make sure there is enough distance between your pieces. This means you will have less pieces in your kiln for a glaze firing than for a bisque firing.
- Keep it neat and make sure that no glaze powder gets onto the plates.
- And also make sure the bottom of each of your pieces is fully on the kiln plate.
- Continue making layers.
Good luck!