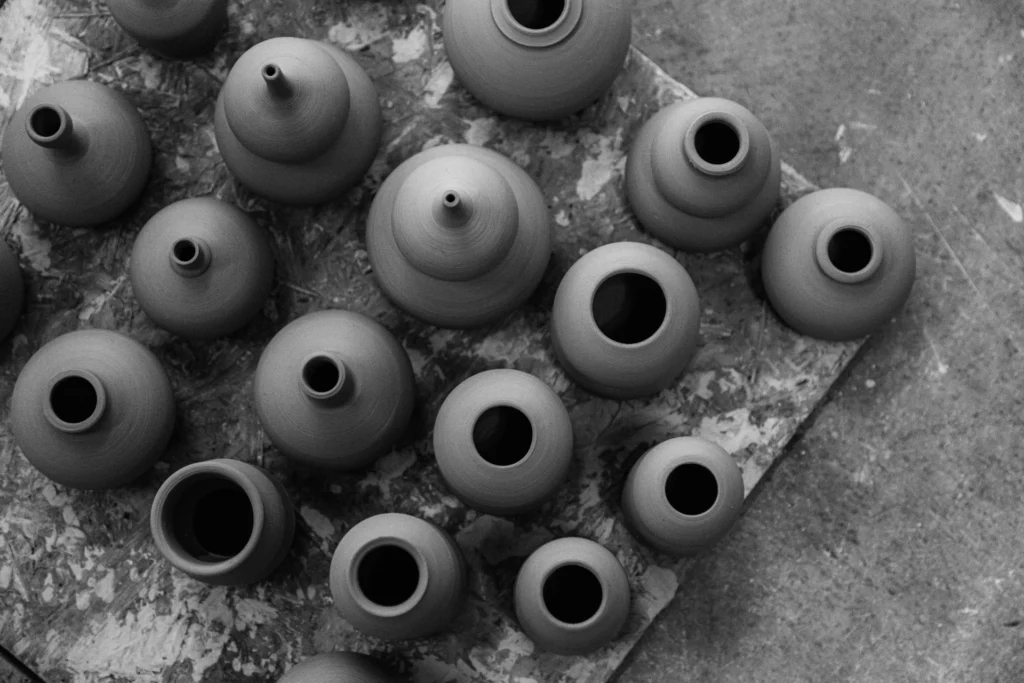
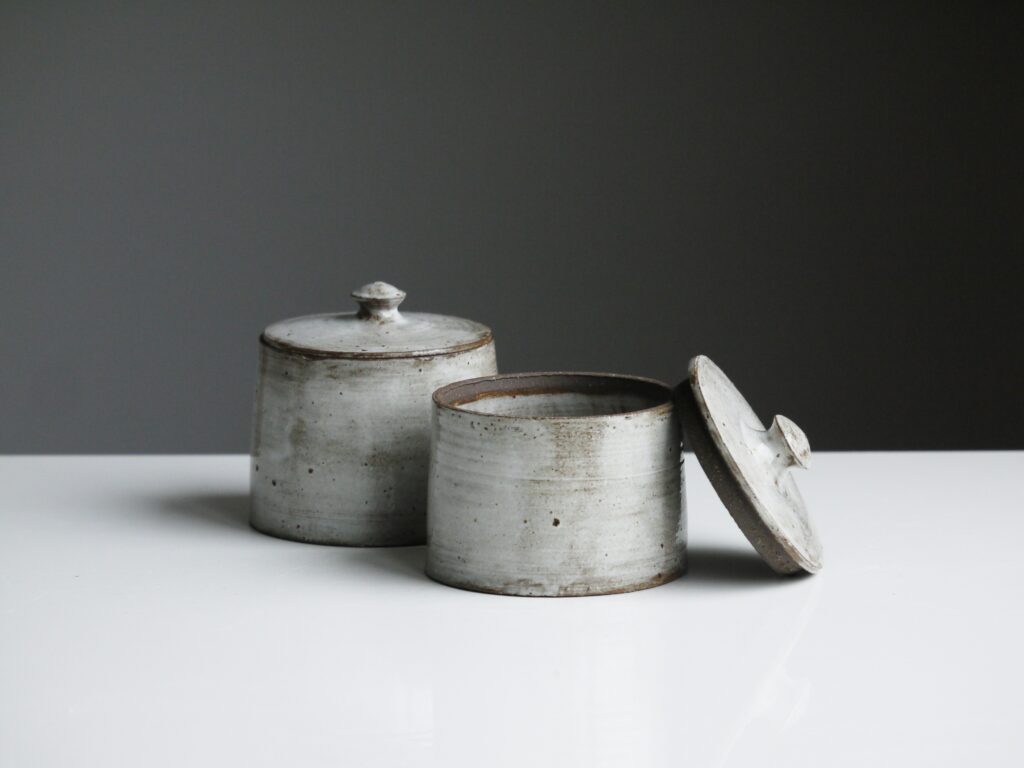
During the drying process
Many ceramists choose to simply let their pieces dry with the lid on. This ensures that the lid fits perfectly even after drying. An added benefit is that this way you avoid the edges of your pot drying faster than the rest of your pot. Your lid and your pot protect each other, so to speak.
Of course, if you use this method, you should avoid having your lid and pot stick together. For example, you can put a strip of newspaper, kitchen paper or baking paper between the lid and the pot. Then be careful when removing them so that the paper does not leave any marks.
Instead of paper, you can use plastic wrap. Or you can sprinkle a little cornstarch on the rim of the pot and the lid. This keeps the clay from sticking together and the powder burns away completely in the kiln.
There are also ceramicists who prefer to let the lid and pot dry separately. In that case, do put them both in the same room so that conditions during drying are as equal as possible. Also turn them both over, with the edges flat against the surface, to protect them.
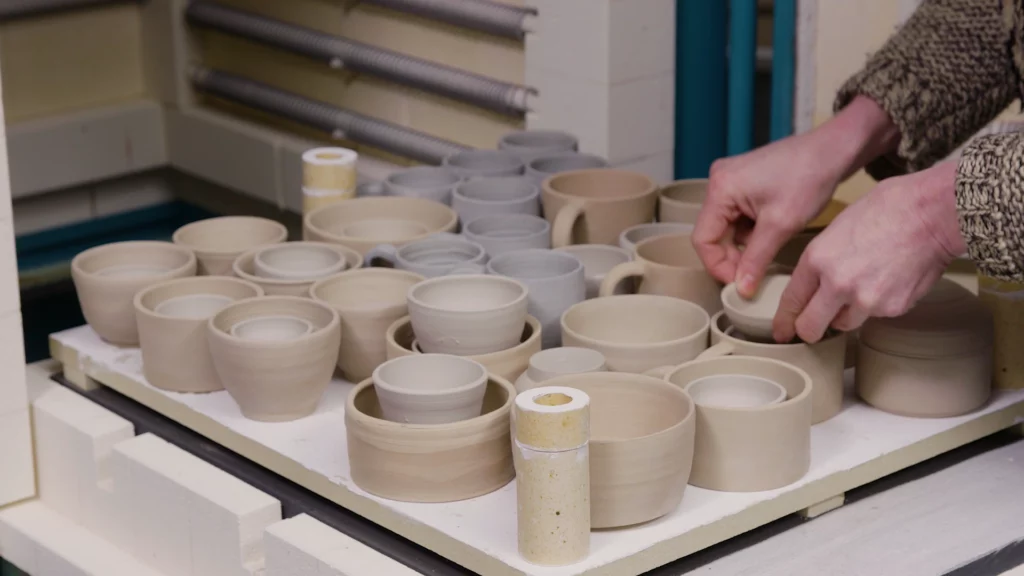
During firing
If you put a pot with a lid on it in the kiln, an air bubble forms inside the pot. If moisture then gets into that bubble, it cannot escape. And in the worst case scenario, that can lead to a shattered piece…
How can you avoid this scenario?
A first possible solution is to make a discreet hole in your lid (or in your jar). This ensures that any moisture that gets into the pot can still escape. It’s a solution that gives a lot of peace of mind, though not suitable for every piece of work. Because a hole obviously affects the functionality of your workpiece, as well as its aesthetics.
Is a hole not an option?
Then you to make a decision. Many ceramicists prefer to take the risk and keep pot and lid together during the bisque firing. After all, this way you can be sure that the lid will still fit afterwards. In turn, other ceramicists choose to keep the lid and pot separate anyway. They do require more space in the oven. It is not immediately clear whether one option has a higher success rate than the other. So the choice is yours!
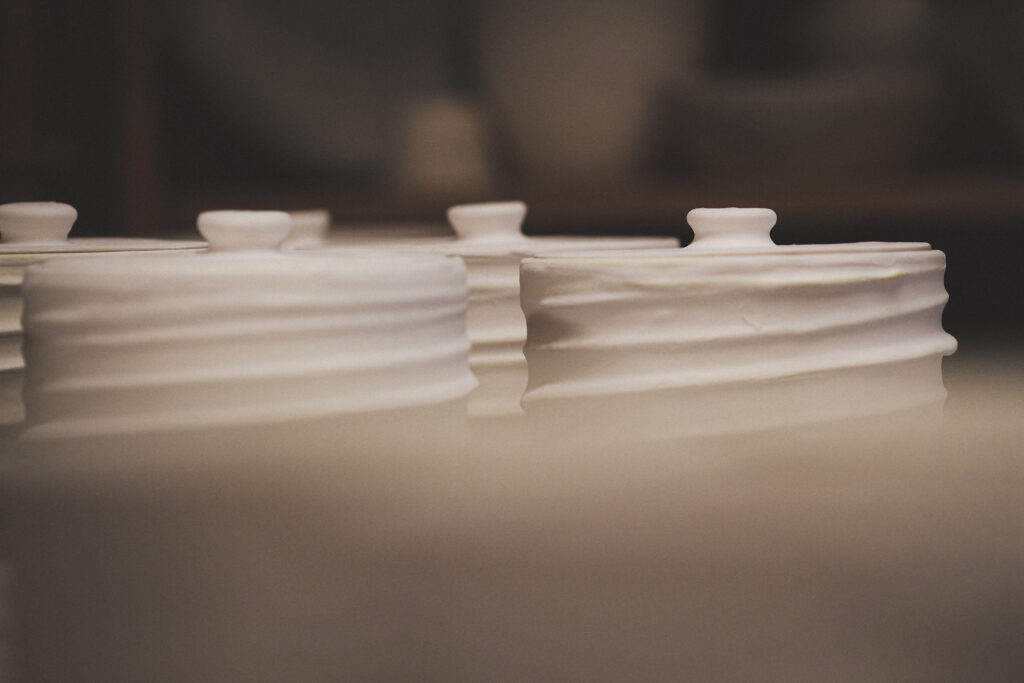
With the glaze firing, it’s a different story: the majority of ceramists prefer to keep pot and lid together. This is because there is a fairly good chance that your piece will still deform a bit during the glaze firing. It is important, however, that there is no glaze where pot and lid touch, otherwise they will stick together. Therefore, it is best to use a glaze that is not too runny – and therefore easy to control. If you want to be absolutely sure, you can also use wax to protect the edges.
The disadvantage is that, this way, you’ll clearly see from the result that certain parts are not glazed. This is also why some ceramicists still choose to keep pot and lid separate, even during the glaze firing. But you can solve this problem in another way. Perhaps you could cover up those unglazed parts with strategic decoration, with engobe or underglaze? Or maybe you choose an original shape of lid and/or pot where that unglazed part doesn’t stand out at all?
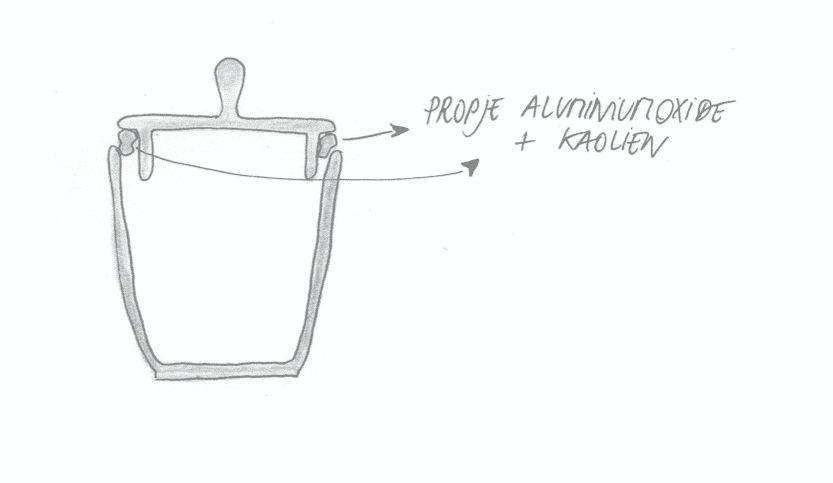
Another option is to work with spheres of kaolin and alumina. To fire a pot and lid together and have as little deformation of pot and lid as possible, you can also work with small spheres to put between the two parts. We make those spheres from kaolin (1 part) and alumina (3 parts). Add water to it until it becomes a malleable paste. Roll small balls of that paste, which you can then stick between the rim of the jar and the lid. That way the two parts don’t touch, and you have a better chance of them surviving the kiln uniformly. Worth a try!
What if the lid is stuck anyway?
No matter how careful you are, it can still happen that your lid gets stuck in your pot. Don’t panic, because you may still be able to save your piece.
Wait until the kiln has cooled sufficiently to safely open it. Remove the pot while it is still hot. The clay is still slightly expanded at this point. Then tap the lid with a wooden spoon to loosen it.
Didn’t that work out?
Then spray a little water on the parts where the lid and pot meet. Then put the piece in the freezer for a few hours so that the clay shrinks a little bit. Remove the pot from the freezer and submerge only the pot, not the lid, in hot water. The pot will expand slightly, while the lid remains the same size. Often that is enough to get the two parts loose.
Is the lid stuck because of the glaze?
Then these methods will not work. You could possibly try to separate the two from each other with a grinder, but chances are you will break the lid. It’s up to you whether you want to take that risk, or prefer to keep your jar and lid as decorative pieces….