The preparation
Before you start glazing, make sure you have done the necessary preparations.
What exactly does that entail?
- The piece is cookie baked, at the correct temperature.
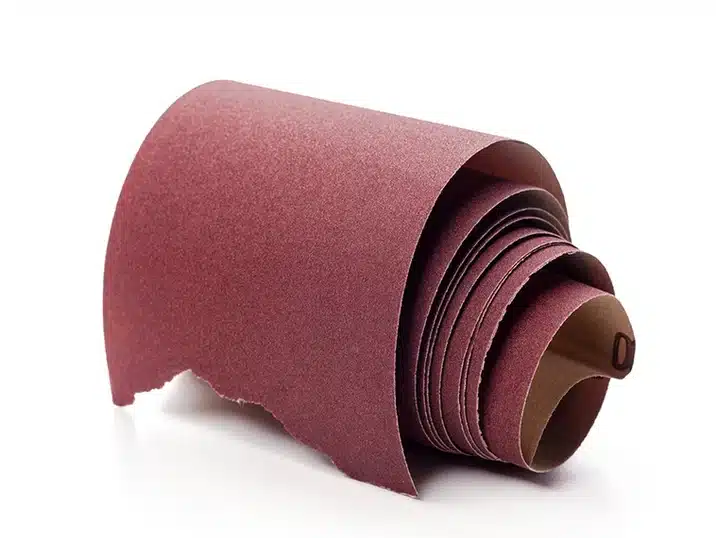
- The surfaces are smooth, with as few bumps as possible. The best option is to make sure the clay is smooth while you’re still working on it. You could also sand it down a bit, but it’s not really recommended. When you’re sanding clay a lot of dust is created, which is really bad for your health. So if you do it, make sure you’re outside and you’re wearing a dust mask.
- Your hands are clean, or you wear gloves every time you touch your bisque-fired workpiece. This way you avoid the natural oil on your hands getting on the clay, as this can cause stains later.
- You cleaned your workpiece with a slightly damp sponge. You can also choose to hold the entire workpiece under running water for a while, but you should take the time to let the workpiece dry completely.
- You applied recess wax to the bottom of your workpiece. This protects the bottom, and also guarantees that your work won’t get stuck to the kiln.
- You chose a glaze suitable for the clay you used to make your piece. In other words, it has a firing temperature close to that of clay. Is it a big piece or a large amount of pieces? Then you better do a test tank with a small piece first.
- You mixed your frosting thoroughly, then sifted it to get out all the little impurities. This way, you avoid unevenness when applying.


Applying the glaze.
You can apply glaze in different ways. You can apply it with a brush, you can dip your piece in the glaze, or you can pour the glaze over your piece. No matter what method you choose, we have a few pointers to take into account.
- As a beginner it’s best to use only one glaze at a time. The more different glazes you are using at the same time, the higher the chance that one of them will dry out or start separating while you’re working. And the higher the chance that you end up confusing two different glazes.
- Do you apply the glaze with a brush? Then don’t be too economical. Take enough glaze on your brush and apply a good covering layer. While applying, change up the direction of your brush strokes so you don’t get streaks, and let each layer dry before you apply another one.
- Do you apply the glaze by dipping the workpiece? If so, be sure to stir the glaze well first to get all the air bubbles out. Lower your workpiece gently, and don’t let it sit in the glaze for too long. A few seconds is more than enough.
- Apply your glaze by pour it over your workpiece? If so, try to create as little overlap as possible. That way you avoid having the glaze much thicker in some places than others.
- Did you end up with too much glaze in certain spots? Then it’s better to let the glaze dry first and then get rid of the excess glaze by sanding or shaving it off. If you try to remove the glaze while it is still wet, chances are you will remove too much or cause unsightly stains.

Firing the glazed pot
Once the glaze has been applied, you’re almost done. But before you put it in the kiln, remember these tips.
- Allow your glazed piece to dry completely before baking. If the glaze still feels cold to the touch, it’s not completely dry yet. Wait until it reaches room temperature before you put it in the kiln. This will give the best results.
- Protect your oven with a oven coating – batwash: so you can be sure that your workpiece will not stick in your oven.
- Use oven plates, oven supports, triangles and other stacking materials to ensure that your workpieces do not touch each other and the walls of the oven. Otherwise your creations might get stuck to each other or to the walls of the kiln.
Of course there’s a lot more to say about the art of glazing. If you want to learn more, check out the course ‘Discovering the world of glaze’. Highly recommended! But with the tips in this article, you can already get started on your own. Happy glazing!


