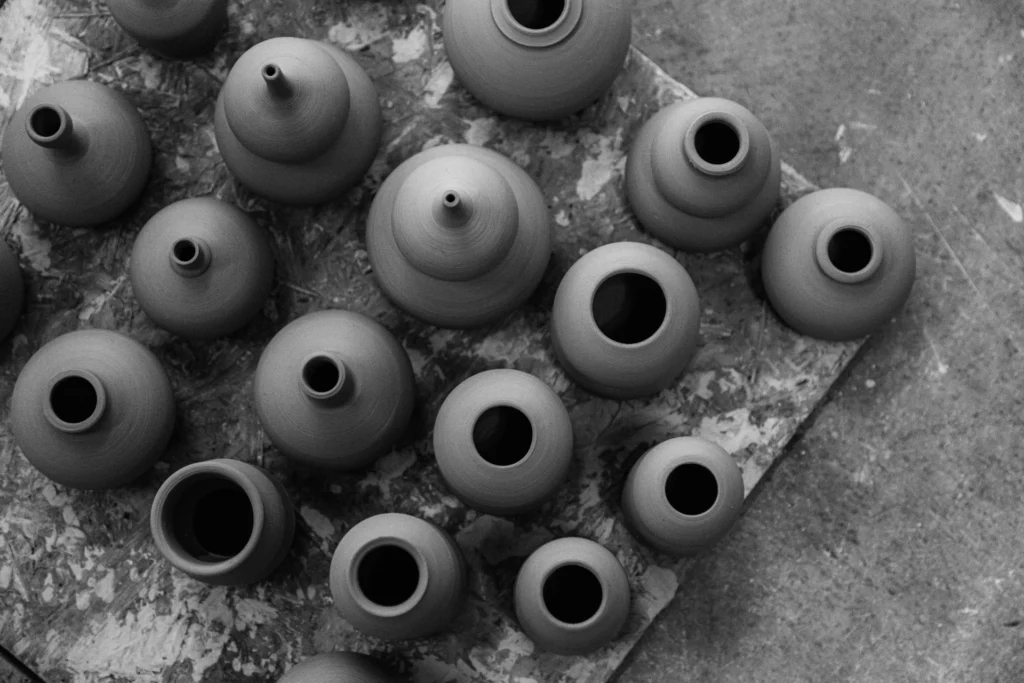
There are many possible causes of glaze problems. We list three important tips.
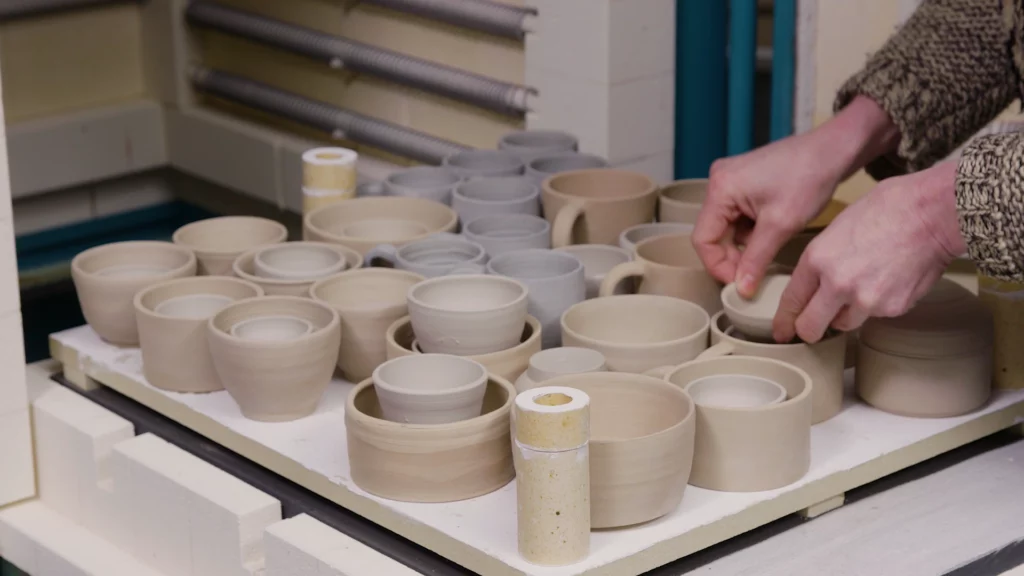
Make sure your piece is clean
Have you sanded your piece to remove any unevenness? Maybe it was left in a dusty studio for a while before being glazed. Or maybe you didn’t do anything special, but your piece still collected a lot of dust and stray clay particles. These can prevent the glaze from adhering properly to the clay.
As well as clay particles and dust, you may also find greasy spots on your piece. These can also spoil your work. This is because the natural oils on your hands can easily leave a mark.
The solution? Make sure you wash your hands before touching your biscuit-fired piece. Also, clean your piece thoroughly before glazing it. You can immerse it completely, but you will then have to wait until the clay is completely dry again. Alternatively, you can use a sponge or damp cloth. Just dust it off and you’re done!

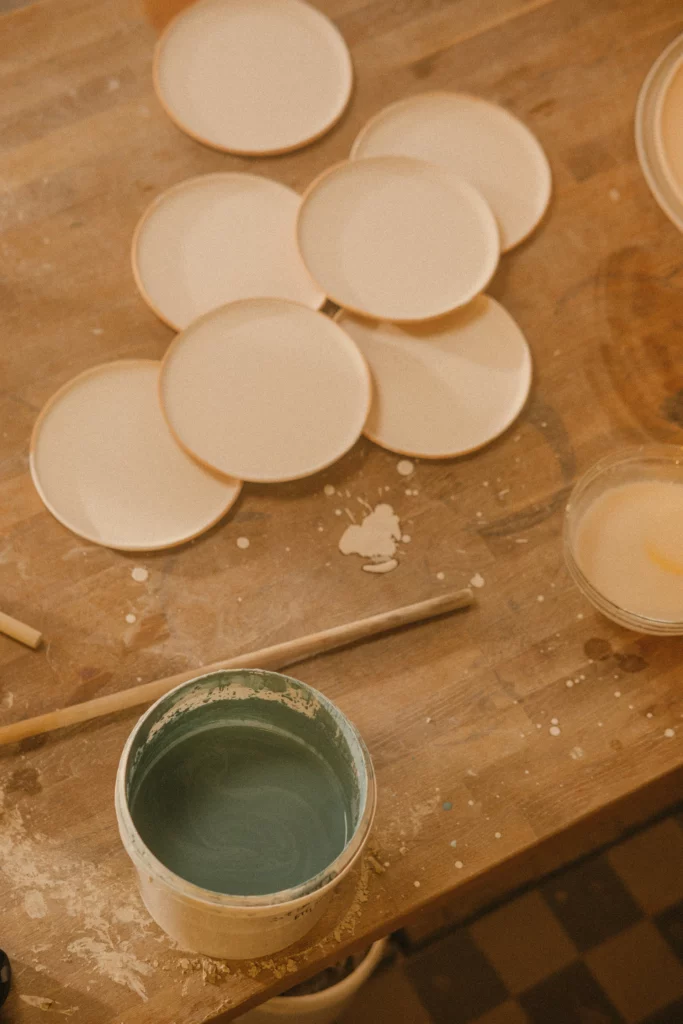
Mix your glaze thoroughly
A glaze consists of various components. For it to work properly, these must be present in the correct proportions. However, if a glaze is left untouched for a long time, certain components will sink to the bottom. This means that the proportions may be incorrect when you apply it.
The effect varies. Sometimes, for example, the glaze does not adhere well to the clay and is very difficult to apply. Sometimes, the glaze flakes off during drying. Sometimes, you get very unexpected results after firing.
The solution? Make sure you stir your glaze well. Scrape the bottom and cover all corners. You can use a stick, a beater or a hand blender. If you choose to make your own glaze from powder, it is also important to sieve it well. This is the only way to achieve the right consistency.
Do not apply your glaze too thickly
If it is the first time you glaze a particular shape, it is best to proceed carefully and slowly. This may seem obvious, but rushing can also cause you to
Cracks often appear in the glaze during drying. If you fire the piece anyway, the glaze will shrink. This often results in unsightly bare patches appearing on your piece.
The solution? When dipping a piece in glaze, don’t leave it under for too long. Of course, not long enough is not good either: a calm, smooth movement is key. The same applies if you pour the glaze over the piece: don’t leave it for too long. Finding the right balance is not easy, but practice makes perfect!
Want to learn more about glazes? If you want to know all about applying glazes to your pieces, be sure to check out the course ‘Preparing and applying glazes with Aster and Caroline. Want to go a step further, and actually compose your own recipes? Then ‘Understanding and creating glazes with Aster and Caroline‘ is probably for you.