Techniques for wedging clay

Want to prevent cracks and air bubbles in your clay creations? The right wedging technique can lay the perfect foundation for a sturdy, smooth result.

Before you can start throwing, you need to prepare your clay properly. This ensures the moisture inthe clay is evenly distributed, there are no air bubbles, and the clay particles are aligned evenly. Wedging is the key. There are various techniques you can use to achieve this.

You need two things for both techniques: a clean work surface, and a piece of clay. If you are using new clay, cut a piece from the pack with your cutting wire,, roughly in the shape of a brick.

Een persoon kneedt bollen klei op een houten plank

Ram's head wedging

With this method, while wedging, the clay takes on the shape of an ram’s head: two eyes and a nose. Place the brick on its side, with the long side against the work surface. Cup both ends of the brick with the palms of your hands.

Cursist docente Françoise Busin die een bol klei kneedt volgens de ossenkopmethode

Push the clay away from you, against the surface. This will cause the clay to roll over itself. Pay attention, do not push the clay down.

  1. Use the sides of your hands to bring the clay back towards you.
  2. Repeat these steps several times.
  3. Be careful not to fold the clay on itself, as you would do with bread dough. This creates air bubbles in the clay, and that’s exactly what we want to avoid.

Be careful not to fold the clay on itself, as you would do with bread dough. After all, that creates air bubbles in the clay, and that’s exactly what we want to avoid.

Spiral wedging

This alternative method involves shaping the clay into the shape of a spiral, or shell.

Twee handen die klei voor keramiek kneden volgens de spiraalmethode
  1. Place the brick on its side with one of the short sides against the work surface. Cup the top of the brick with your palms.
  2. Push the clay away from you, against the surface. his time, however, push at a slight angle to the left, rather than straight ahead.
  3. Use the sides of your hands to pull the clay back towards you while rotating it at the same time.
  4. Repeat these steps several times.

Finishing

Do you want to use the wedged clay for throwing? Then make sure you shape your piece of clay into a nice ball. After all, centring and pulling up clay is difficult enough without bumps and dents. Good luck!

Check out all of the online courses we offer and dive into the world of clay!

Discover more blog posts here

Pot with lids made from clay
Basic info
Nele

How do you fire a piece with a lid?

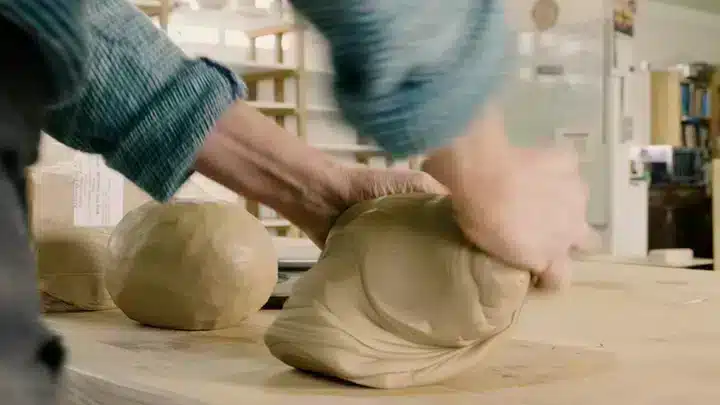
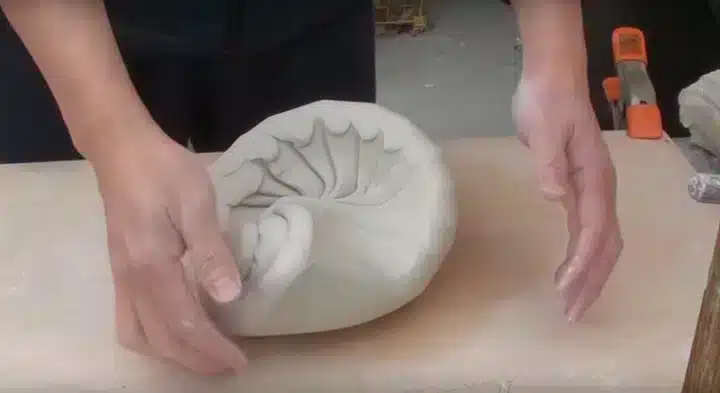
After a lot of checking, adjusting and double-checking, you are absolutely certain: the lid of your piece is just the right shape and size. It fits like a glove! But

Een openstaande blauwe tajine van keramiek
Shapes
Nele

The tagine

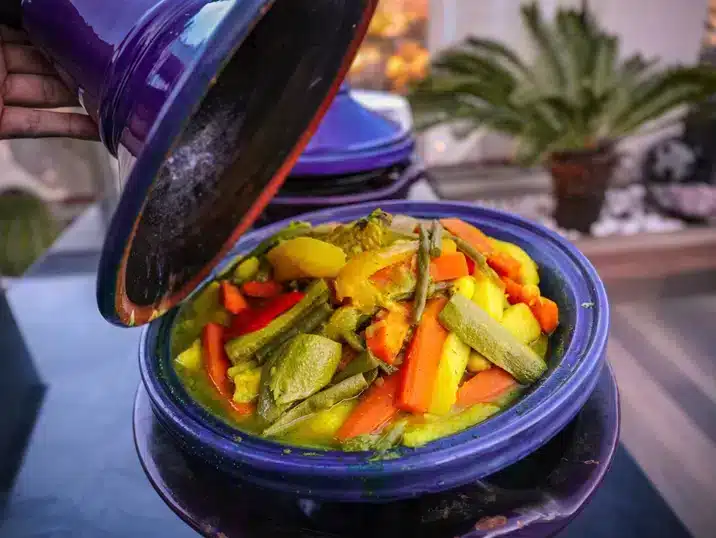
A tagine is a Moroccan stew pot made of earthenware. The tagine consists of a flat dish and a cone-shaped lid.

Close up van rijpe aardbeien aan de plant in aardbeipot van keramiek
Shapes
Nele

The strawberry pot

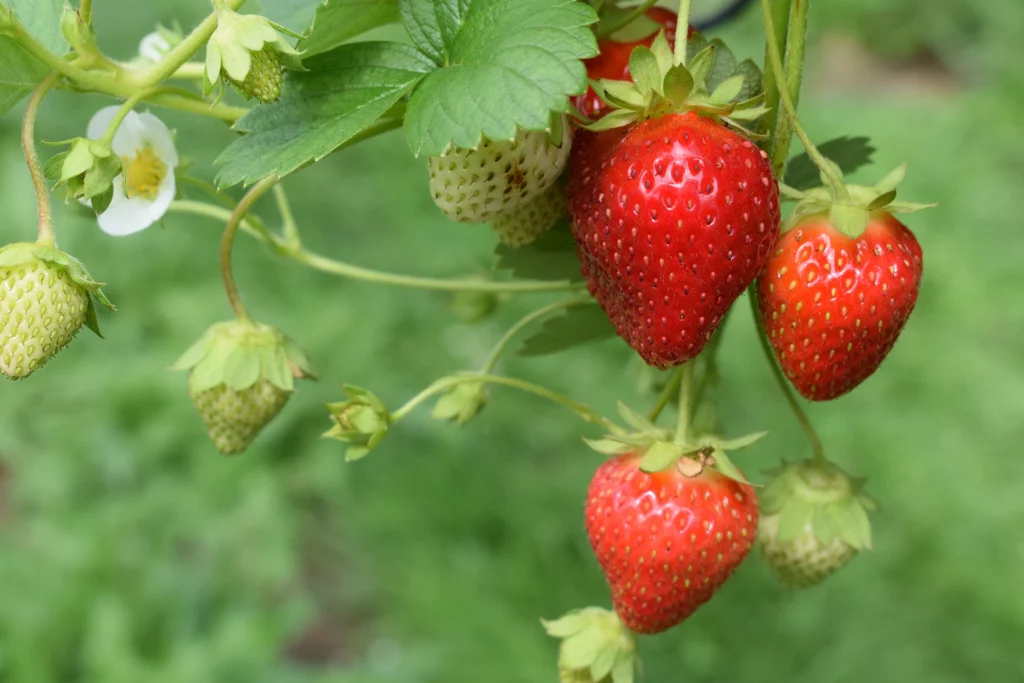
Do you have a green thumb but also limited space in your garden or on your balcony? Then a homemade strawberry pot might be the solution for you. These pots

Download the free beginner's guide

Start out with ceramics

A handy 27-page PDF with everything you need to know to get started with everything clay.

Enter your details below and you’ll get the guide in your mailbox! You sign up for our bi-weekly newsletter full of ceramic goodies as well.