This technique can be used in many ways: from tight geometric patterns to detailed line drawings. It requires a lot of patience and a steady hand, but no other technique can give you such fine lines.
Want to try this technique? Keep reading, it’s not difficult.
Sgraffito step by step
How does it work exactly?
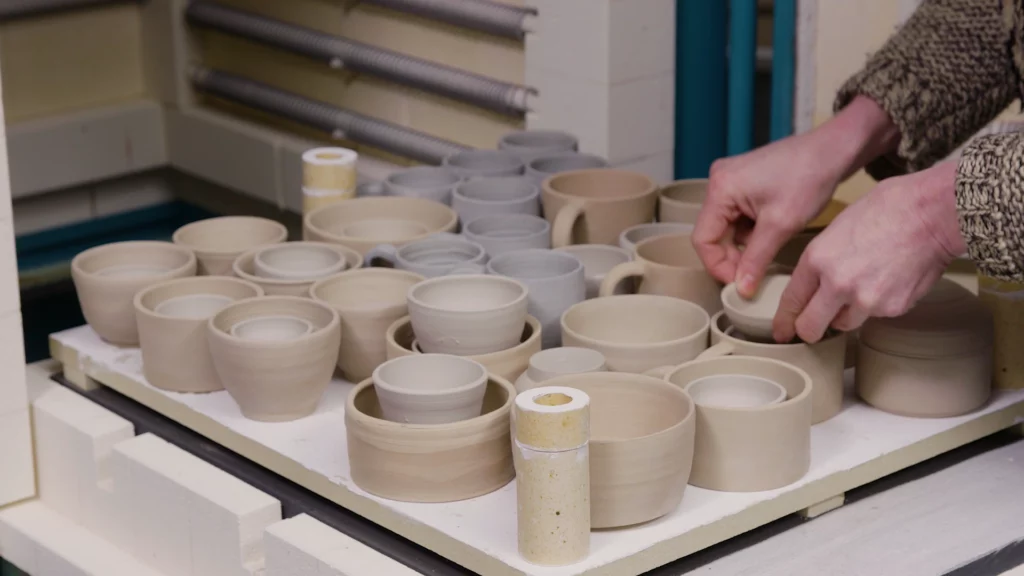
- First you make your pot, either on the pottery wheel or with handbuilding. Choose any shape, but make sure the walls of your work are nice and smooth.
- Wait until the clay is leather-hard before you start decorating. If your clay is still too wet, your pot may bend and deform while you’re carving. And it also makes it difficult to get sharp lines. But don’t wait too long either, because if your work is too dry, the underglaze won’t adhere properly and might even come off. In addition, the carving will be a lot harder on your hands and wrists. Can you lift your work without it feeling fragile? And at the same time, can you still easily make an impression in the clay by pressing your fingernail into it briefly? That is the time to start decorating.
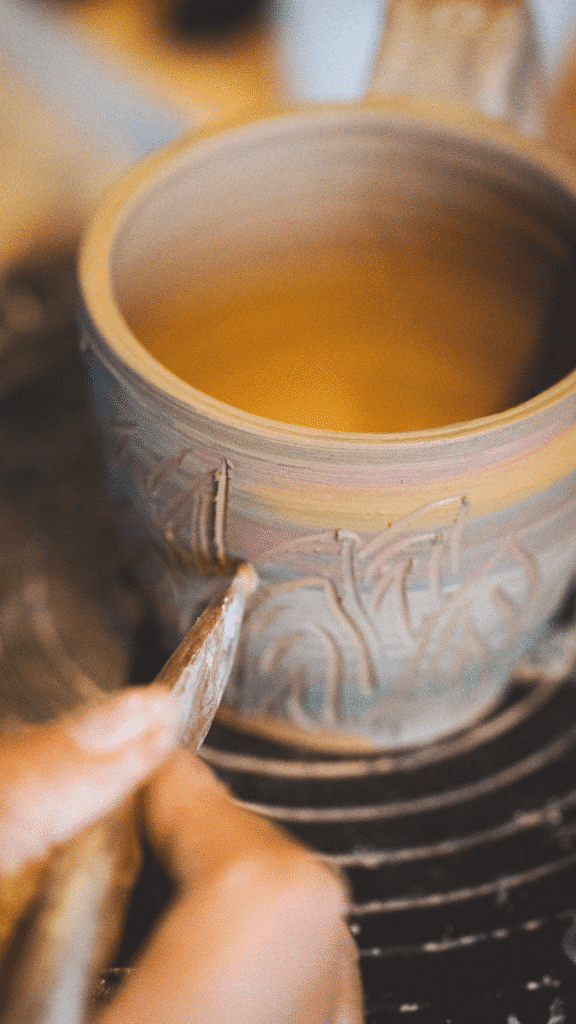
- Apply the underglaze to your work. You can do this with a brush or by dipping, spraying, pouring, it doesn’t matter. You can also choose to apply several layers in different colours. That allows you to play around later, making deep or shallow scratches to expose those different colours.
- Apply your sgraffito-design in pencil. Don’t worry, the pencil markings will burn away in the kiln.
- Time to start carving! You can use a variety of tools for this: from special sgraffito pens to an old pencil or a needle. It all depends on how fine you want to make your lines. Do you want to carve large areas? Then always start with the outline and work your way in.
- Let your work dry completely before it goes into the kiln. After bisque firing, apply a transparent layer of glaze, and fire again.
This is by no means the only sgraffito method. For example, you can also carve into a pot that has already been bisque fired, giving you a completely different end result. Or you can apply wax to your piece, scratch into it, and apply a layer of glaze over that. And of course a lot depends on the instrument you are using to make the scratches, and the design you choose. There are so many options to explore. Happy carving!