You’re already reaching for the sandpaper … but wait! Is it really a good idea to sand your pottery piece?
Sanding your pottery is a health risk. This is because you create small particles of dust that are very harmful if inhaled.
If you do want to start sanding, there are some guidelines you can follow to limit the amount of clay dust.

Sanding unfired clay
Perhaps your piece is not as symmetrical as you would like it to be. Perhaps certain decorative techniques have left their mark without you intending them to. Whatever your reason, be careful when sanding unfired clay: sometimes it goes very fast, and before you know it you have sanded off more than you intended.
Does the clay you used for your piece contain grog? If so, be very careful when sanding, as the rough grog particles can make the walls of your piece even rougher. An alternative to sanding is to use a metal rib to smooth the clay before it dries, or a rubber rib if the clay is already leather hard. You can also use a damp sponge to smooth the surface.
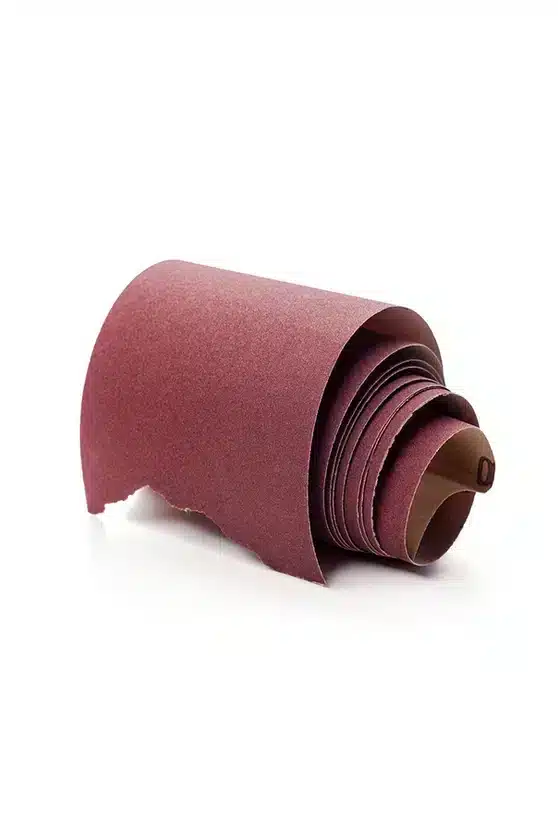
Have you used a clay without grog? Then sanding is a little easier. Always start with a coarser sandpaper, e.g. 80 grit, and gradually work up to finer sandpaper, e.g. 220 grit. Always sand outside, and wear a suitable dust mask.
Finished sanding? Use a duster or brush to remove any remaining dust from your piece before going back indoors. This will ensure that your piece goes into the kiln with smooth walls.
Sanding bisque fired clay
Your piece may be a little rougher after firing because you used clay with chamotte. You may have noticed some rough edges or corners that you hadn’t seen before.
Whatever your reason, if you need to sand a fired piece, you can use a ‘wet’ sanding method. For example, you can wet the sandpaper before you start, or you can hold the whole piece under the tap for a while.
By using these wet sanding methods, you can reduce the amount of clay dust you produce. But, of course, it doesn’t stop everything. Take the same precautions as before: go outside and wear a dust mask.
Once you have finished sanding, it is very important to remove all dust from your work before glazing. Otherwise you may end up with unglazed areas in your final result. You can use a damp sponge, or you can hold the whole piece under a tap or in a bucket of water.
Just make sure you allow your work to dry completely before applying your glaze. Otherwise the glaze will not ‘bond’ properly to the clay.
When you sand glazed and fired clay
After firing your glazed piece, you may find that the base of the piece is not quite stable. Or maybe you applied too much glaze and too much of it ended up on the bottom of your piece.
As your piece is already fired, you can use a ‘wet’ sanding method again, just as you would with biscuit fired clay.
If you want to make the base of a piece nice and firm, you can attach a piece of sandpaper to your workbench and then move the piece back and forth until the surface is smooth. Want to get rid of excess glaze? You can also use a sander, possibly with a wire wheel. However, this is a ‘dry’ method of sanding and will produce a lot of clay dust.
Whichever method you use, always take these precautions: go outside and wear a dust mask. Working with a grinder? Then you’ll want to protect your eyes with goggles. The easiest thing to do, of course, is to finish your work in such a way that sanding is not necessary. And prevention is better than cure, isn’t it?