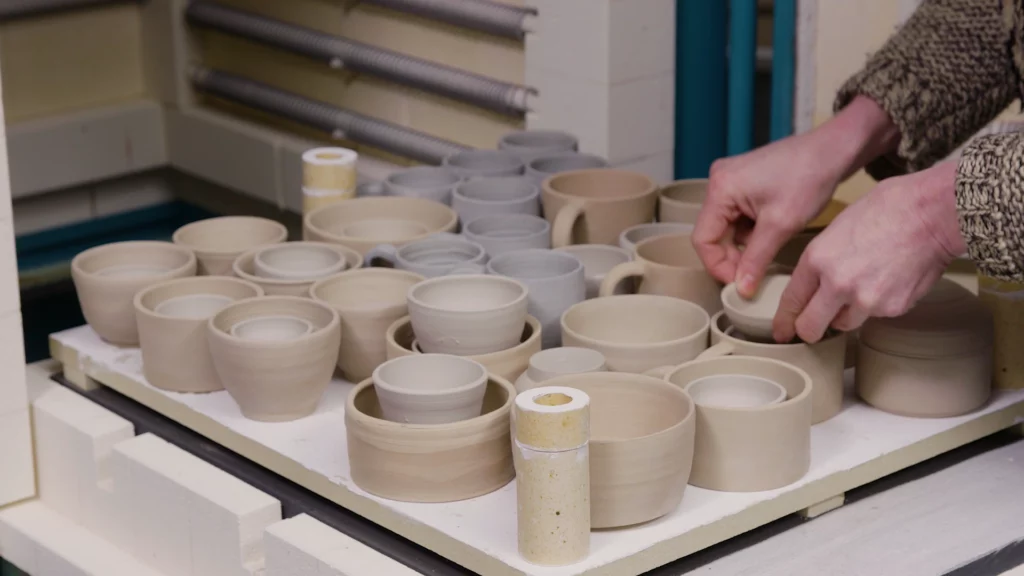
IIt’s the beautiful background in many pottery studios: a wall of colourful test tiles! But even if you don’t use that many different types of clay or glaze, it’s still a good idea to make test tiles.
What are test tiles used for?
- To have a clear overview of your glazes/engobes/underglazes: because it’s difficult to tell what a glaze looks like with just a name or a number. Making a test tile for every glaze, engobe and underglaze allows you to keep track and have an example on hand at all times.
- To know how a glaze reacts to a type of clay and to the firing process: every glaze is different and every clay is different. A glaze on one type of clay can look entirely different on another type of clay. So if you’re using a new clay or glaze, it’s better to make some test tiles first.
- To test new glazes: If you’re creating glazes yourself, you experiment with the recipe and the proportions of the ingredients. To chart the results of all of this testing, you make a test tile every time. Afterwards you have a clear overview of the effect of each change you made to the recipe.

Different types of test tiles
Every potter has their own preferences when it comes to test tiles. because there are different ways to make them.
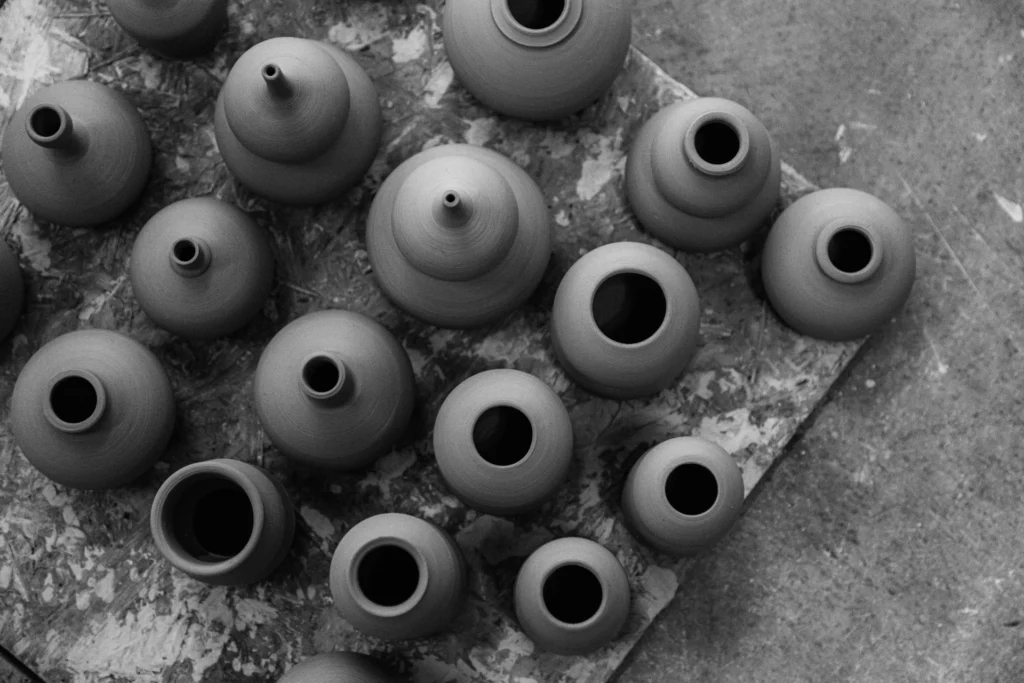
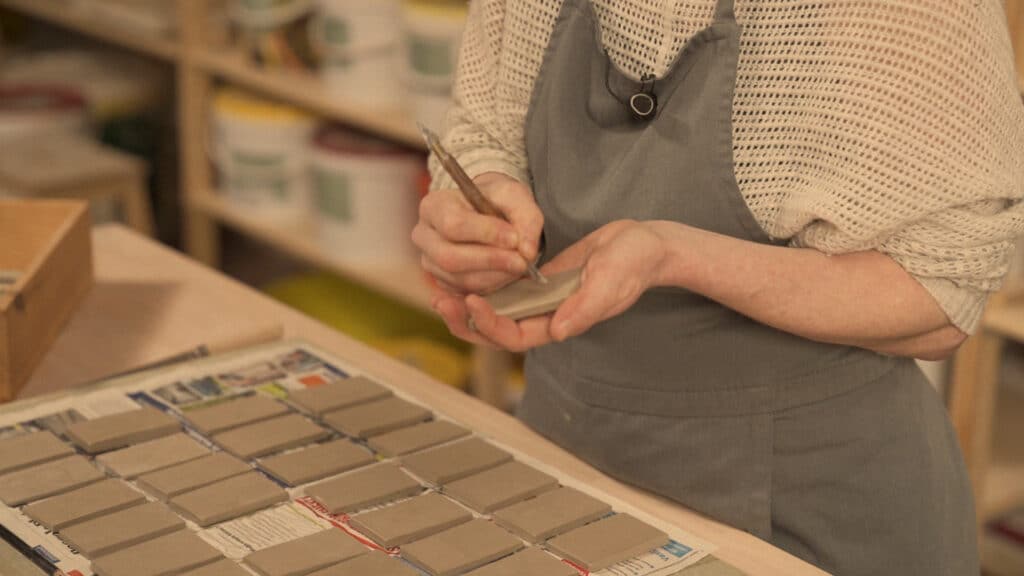
- Tiles that are punched or carved from a rolled-out slab of clay. When they’re leather-hard you can add a hole in case you ever want to hang them up.
- Standing plates: you make these by wheel throwing a ring, with no bottom, and pulling the clay up to create walls. Make sure to add a foot ring. Once the ring is dry, you can cut out the tiles and smooth the edges a bit with a damp sponge.
- Hollow cylinders: made with a hand press.
Glazing test
- Carve a groove into the tiles to create texture so you can see how the glaze reacts when it’s on an edge.
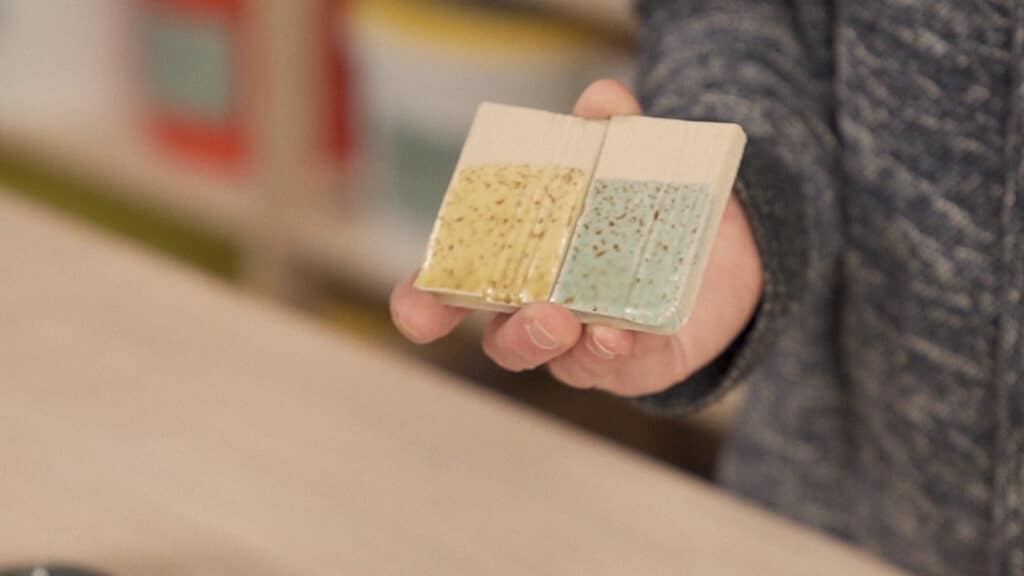
- Dip your test tile three times: the first time you dip it completely, the second time you dip only two thirds of the surface, and the third time one third. This allows you to see what the effect is of a thinner or thicker layer.
- The same thing goes for transparent glazes: don’t apply them to the full tile, but only on half. That way one tile can show you what the clay or the engobe/underglaze looks like with and without a transparent glaze.

Numbering and taking notes
Always write everything down! The last thing you want is having a test tile you really like, but you don’t remember what glaze you used.
-
- So don’t forget to number your test tiles with a needle or a stamp, while they’re still leather-hard. Or use a ceramic pencile after they’ve been bisque fired.
- For every test tile, keep a record of which clay you used, what type of decoration you tried out, which glaze you used, how you fired it …
And one more tip: Don’t forget to also make test tiles for every type of clay you use where one has only been bisque fired and one has been fired twice, with no glaze. This gives you an overview of the colour of the different types of clay.