This is a very intuitive technique, where you basically simply pinch the clay into the right shape. Sometimes it’s called ‘the pinch method’ or ‘pinching technique’. It sounds simple, but anyone who has worked with clay before knows that the clay doesn’t always do what you want it to. You need to become friends with the clay. How do you get started?
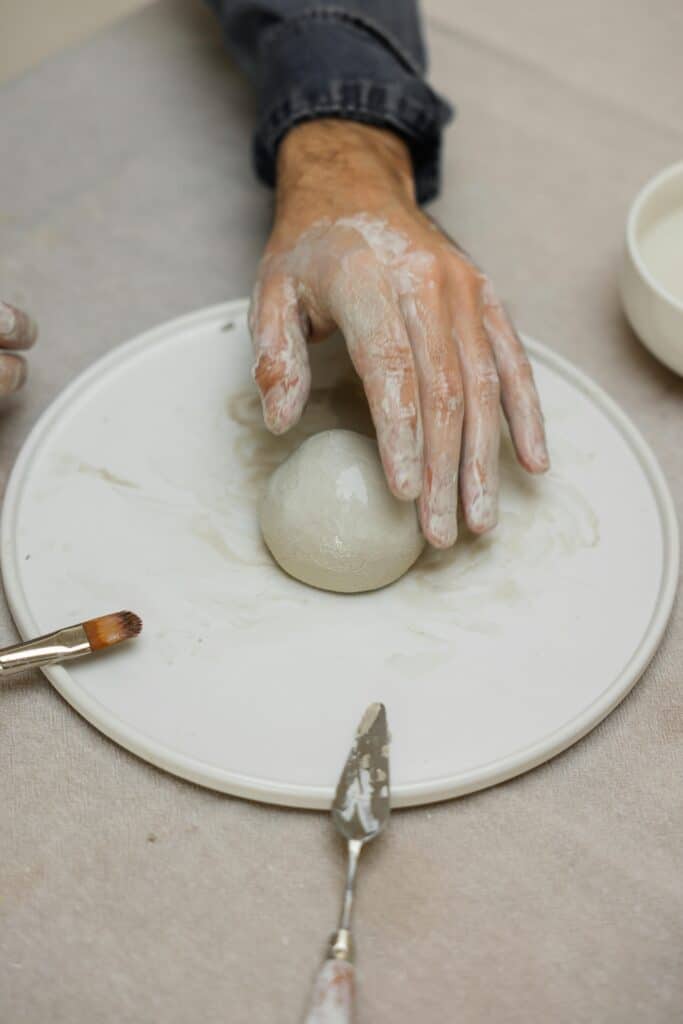
Step 1: Make a ball
Take a hunk of clay and roll it in the palm of your hand to create a smooth ball. The amount of clay you use should be about the size of an apple or a tennis ball.
Step 2: Make an opening
Hold the ball of clay in one hand and push into the center of the ball with the thumb of your other hand. You can also push with both of your thumbs, but you have more control when you only use one. Keep pushing until the layer of clay between your thumb and the palm of your supporting hand is about as thick as the width of a finger.

Step 3: Create the walls
Now it’s time to start pinching. Do not use your fingertips, only use your thumb and the length of your index finger. You can choose whether you keep your thumb on the inside and your fingers on the outside or the other way around. Try both option and see what works best for you.
While pinching, create the wall of your pot and give it an even thickness all around . Keep pinching until the wall is about as thick as the width of a finger. Are you happy with the shape of the pot? Then finish the walls by making them as smooth as possible. You can do this with your fingers and maybe a little bit of water, or you can also use a rib tool.

Step 4: Shape the bottom and the wall
The pot still needs a proper bottom so that it’s stable. Gently tap your pot against a surface until the bottom flattens out. Make sure that it’s nice and smooth. Want to give your pot a foot ring? Then you can make a coil of clay and add it to the bottom of your pot. Remember to attach the coil properly to the rest of the clay.
If you want to make sure the edges of your pot are straight, you can use the same method as for the bottom. Another option is to make a mark on the pot where you want the edge to be, and then cut the excess clay above it with a scraper or a knife.
Step 5: Let the pot dry and finish it
Pinch pots don’t always have a completely even thickness. And that means they might not dry out evenly. If you want to reduce the risk of cracking, you can slow down the drying process by loosely covering the piece in plastic. Then open the plastic a little at a time to let in more air.
Is the pot completely dry? Then you can finish it and fire it to your liking. And now it’s time for a hand massage, because your thumbs and fingers deserve a reward!
Ready to learn more? There are many more hand building techniques you can try out. For example, we’ve talked about coil building and slab building. Why not try it out?