This technique uses square slabs, making it ideal for creating cubes and other shapes with sharp angles. However, you can also use it to create a cylinder. But let’s start at the beginning. How do you make a simple square pot?
Step 1: Decide on the measurements
Determine how big you want your pot to be. How wide should the bottom be? How tall do you want the walls to be? Make a template out of paper or cardboard so that you can easily create slabs that are exactly the same size.
When measuring, don’t forget to take the slab thickness into account. For example, if you are making a square pot with a base measuring 20 cm by 20 cm and using 1 cm thick clay slabs. You will need two walls that are 20 cm tall and two that are 18 cm tall. This will ensure that the smaller walls fit neatly between the taller ones.
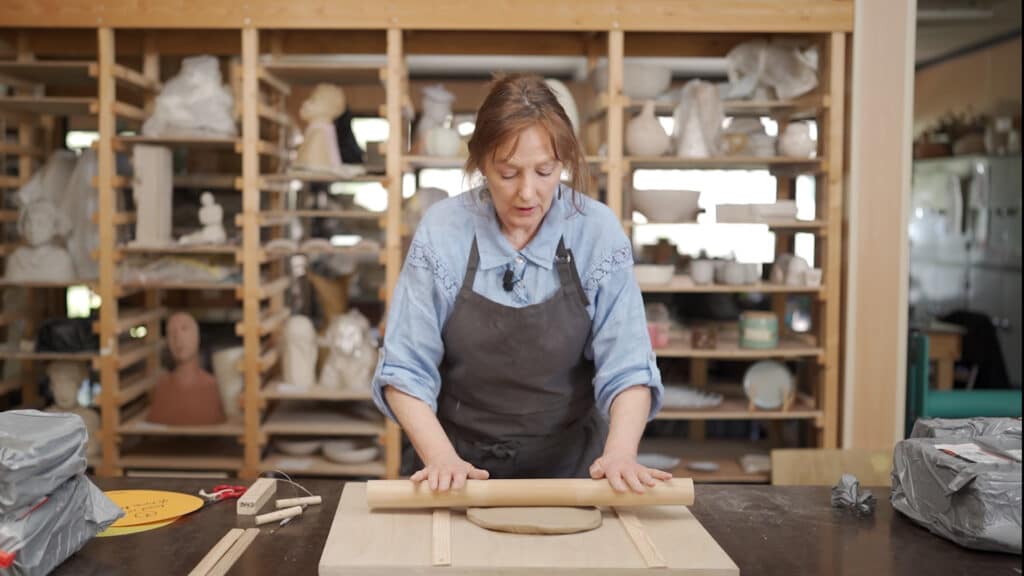
Step 2: Make your clay slabs
Roll out your clay into a flat slab. To ensure an even thickness, use rolling guides or roll the clay out between two wooden slats of the same size. Use your template to cut out the bottom, the walls, and an optional lid.
Step 3: Join the first two slabs together
Take one of the walls and decide where you want to join it with the bottom. Make scratches on both slabs, where they will be joined, and add some clay slip to promote adhesion. Then place the wall in the correct position and press down firmly to secure the clay. Make sure you don’t press so hard that the slabs change shape.
Next, make a thin coil of clay and attach it to the inside of your pot where the wall and bottom meet. Spread the clay upwards and downwards to strengthen the joint between the two slabs. You can use a wooden tool or your fingers for this.
Step 4: Build the rest of the pot
Repeat the previous step for all of the walls. Don’t forget to strengthen each joint with a coil of clay. Then, remove all excess clay around the joints and make the walls as smooth as possible.


Step 5: Leave the pot to dry, then finish it
You can decorate the pot while the clay is still soft. The upside is that you can easily create the shapes you want, btu the downside is that you might accidentally warp the shape of the pot.
Alternatively, you can decorate your pot once the clay is leather-hard. This makes the clay a little harder to manipulate, but there is a much lower chance of you accidentally changing the shape of the pot. The choice is yours!
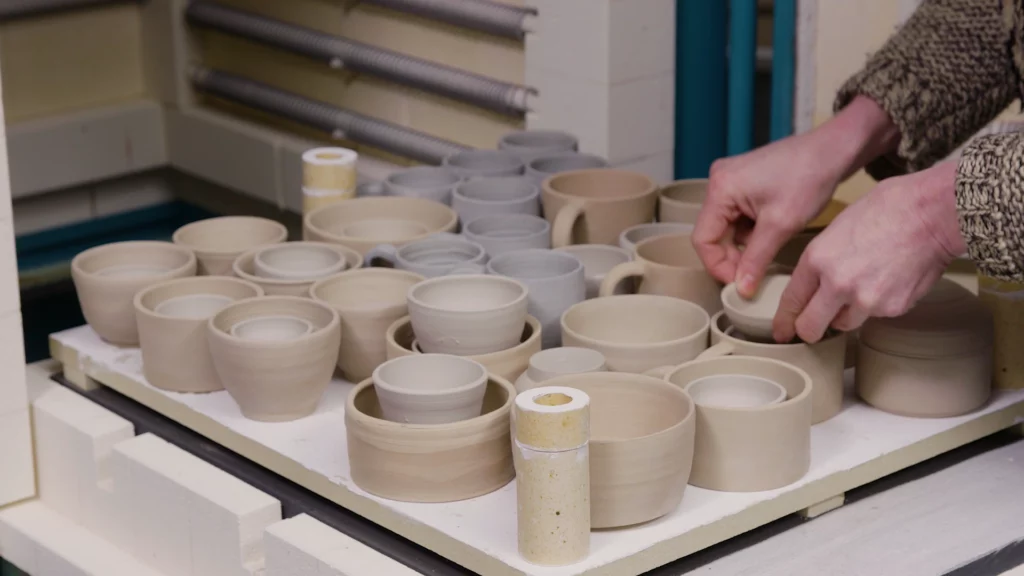
Once your pot is completely dry, you can glaze and fire it as you wish. So what do you think, is it worth repeating?
Ready to learn more? There are many more hand-building techniques you can try out. . We’ve already covered coil building and pinch building, for example. Why not give them a try?