
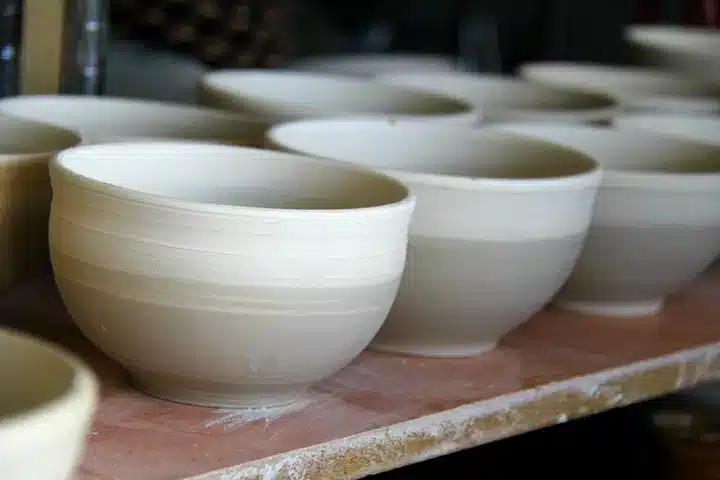
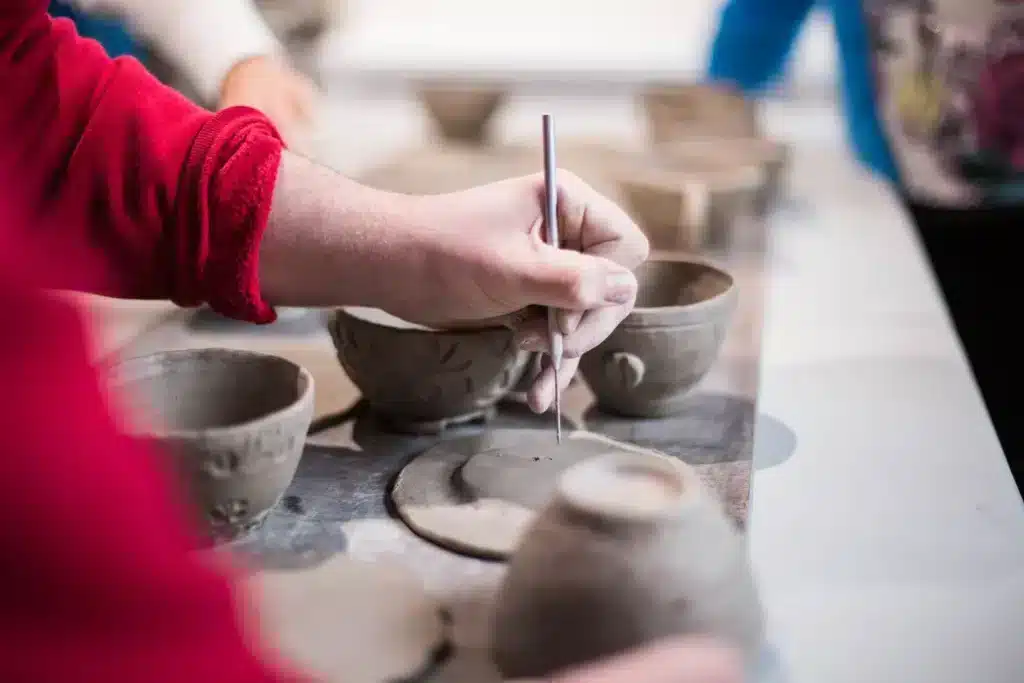


You buy a ready-made glaze in the pottery supply store for your latest work. On the label you read ‘fire to cone 06-08’.
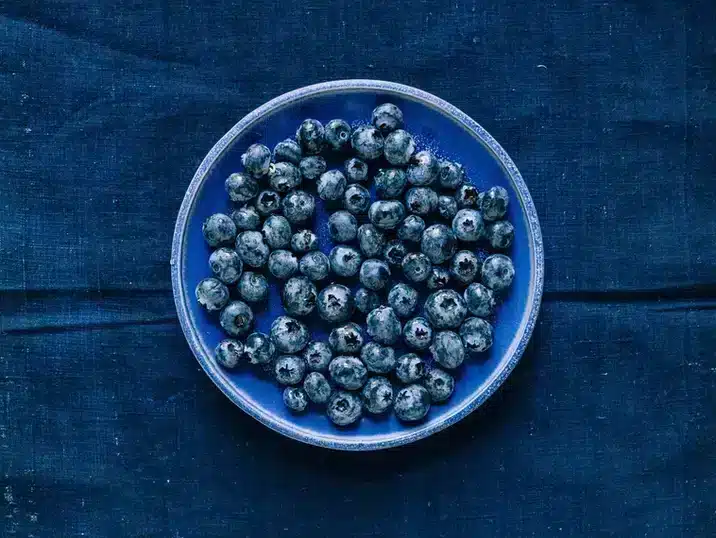
Do you feel the summer in the air? Can you see yourself relaxing in your hammock, with a bowl of fresh fruit, watching the birds in the garden?


