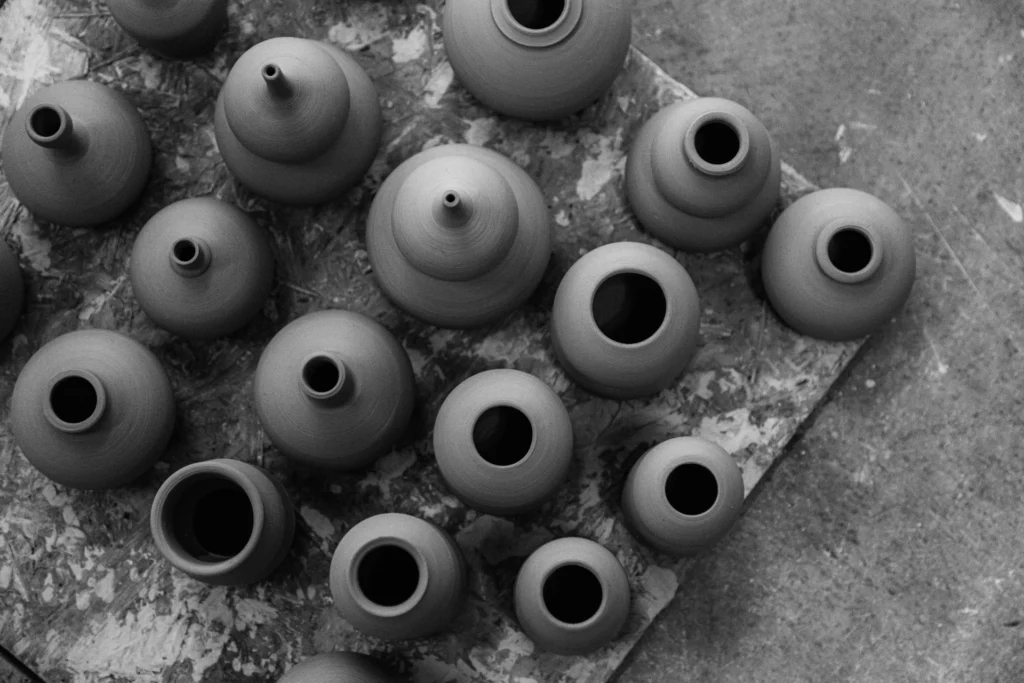
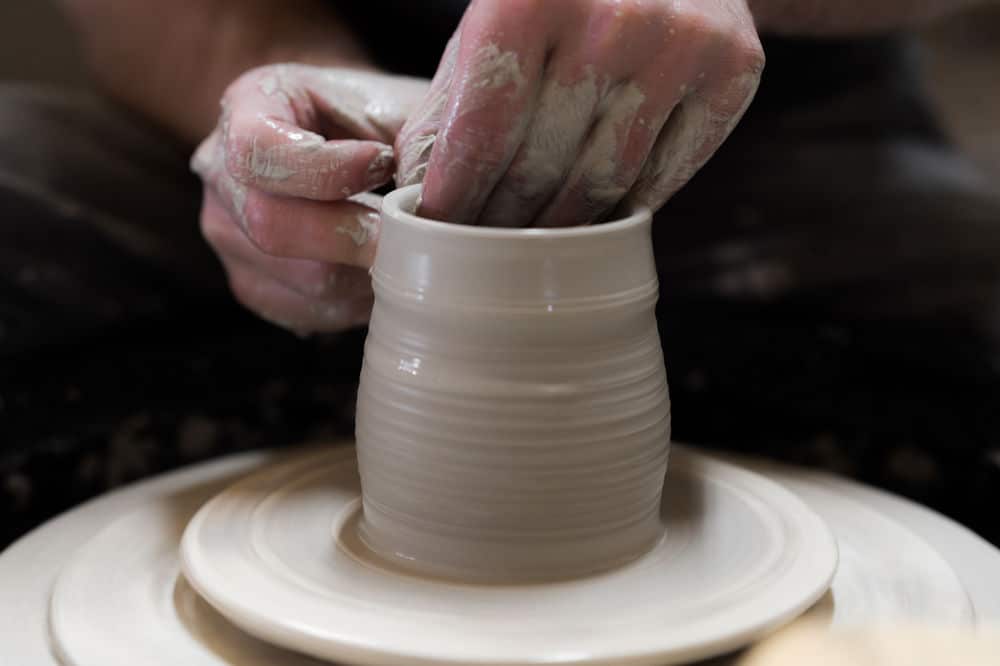
It can happen. You were planning to finish that vase tomorrow, but you didn’t get around to it. And before you know it, the piece has become completely dry, which was not your intention. Does that mean you missed your chance? Not at all.
There are methods you can use to rehydrate your pot, so you can continue working on it. But some methods are riskier than others, and for some of them you need a lot of patience. Time to make a list of all of the pros and cons.
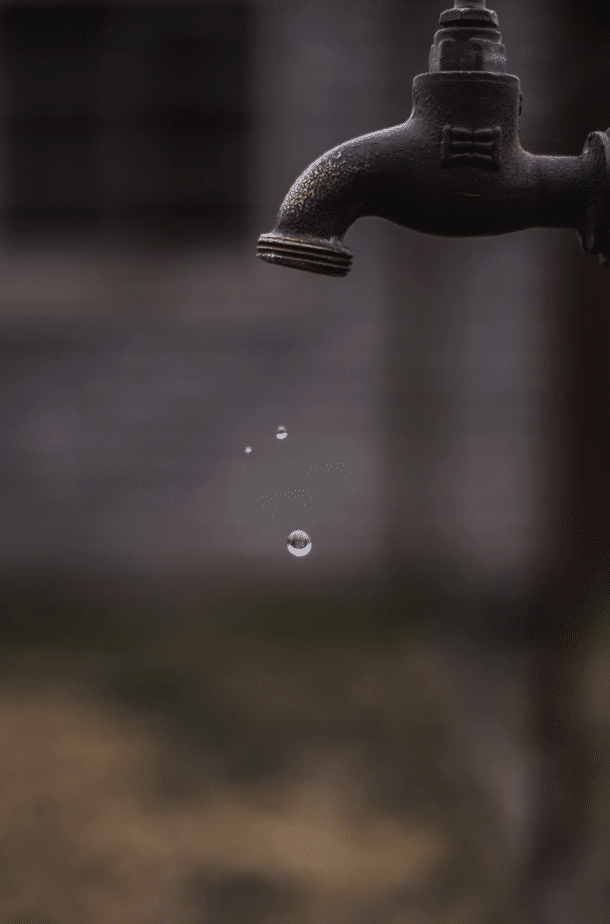
Method 1: Under the tap
How it works:
- Hold your pot under the tap for a few minutes. Turn the piece around so that all corners and sides end up under the running water.
- Wrap the wet pot in a damp rag or towel, and let it rest for 5 to 10 minutes. Make sure the rag is not too wet. Otherwise the water might a puddle underneath your work, which could damage the bottom.
- Once you can make an impression in the clay (e.g. in the bottom of your pot), you can start working on it again.
The pros:
- It’s fast.
- You don’t need many materials.
The cons:
- If the clay gets too wet, your work might end up damaged. So you’re taking a risk if you use this method.
- The water will only soak into the surface layer of your pot. So the piece won’t be completely workable, especially if it’s a bigger piece.
Method 2: In a tent
How it works:
- Fold open a plastic bag on your work surface. In the middle, place a folded newspaper.
- Put your pot(s) on the newspaper. Also place an object in the middle that is taller, so the tent won’t end up touching the edges of your pot(s).
- Make a ring of damp towels around the newspaper. Make sure they are not too wet (no drops of water should form on the plastic bag) and that they do not touch the newspaper.
- Create a tent around this whole set-up, and close the bag tightly with tape. Make sure the plastic doesn’t touch your pot(s).
- Wet the towels every day, and check the status of the clay. Once you can make an impression in the clay, you can get back to work.
The pros:
- You don’t need many materials.
- If you perform the method correctly, not much can go wrong. So your work is safe.
The cons:
- You need a lot of patience. This process can take a few days to a week, depending on the size and thickness of your pot.
- The set-up with tent and towels takes up quite a bit of space.
Method 3: In a bucket
How it works:
- Put your work in a sealable plastic bag. Add water until the piece is partially submerged.
- Fill a bucket with water and submerge the sealed plastic bag. Make sure there is as little air in the bag as possible. You can also attach the sealed bag to a stick and then use that to hang the bag in the bucket.
- The pressure of the water in the bucket will push the water in the bag into the clay. After about 5 to 10 minutes, the clay should be wet enough.
The pros:
- It’s fast.
- You don’t need many materials.
The cons:
- If the clay gets too wet, it could damage your work So you’re taking a risk if you use this method.
- The water will only soak into the surface layer of your pot. So the piece won’t be completely workable, especially if it’s a bigger piece.
Method 4: In a damp box
How it works:
For this method you need a damp box. Fortunately, this is not that difficult to make. Here is a step-by-step guide to making your own damp box, and this video also shows you how to do it.
Is your damp box ready? Then it’s time to breathe new life into your pot.
- Wet the plaster base in your damp box. Make sure the plaster is not so wet that water droplets end up forming.
- Place your pots in the box. Make sure they’re not touching each other.
- Place the lid on the box and wait until the clay becomes wet. This takes 2 to 3 days on average.
The pros:
- If you perform the method correctly, not much can go wrong.
- You can be sure that the water soaks in evenly. And that reduces the risk of cracks in your work.
The cons:
- You need to be patient for a few days.
- It takes some time to make a damp box. Of course once it’s ready, you can keep using it over and over again.
Conclusion
There are lots of ways you can rehydrate your work. It’s mainly a choice between seeing quick results, and accepting the risk that your piece might not survive. The choice is yours!