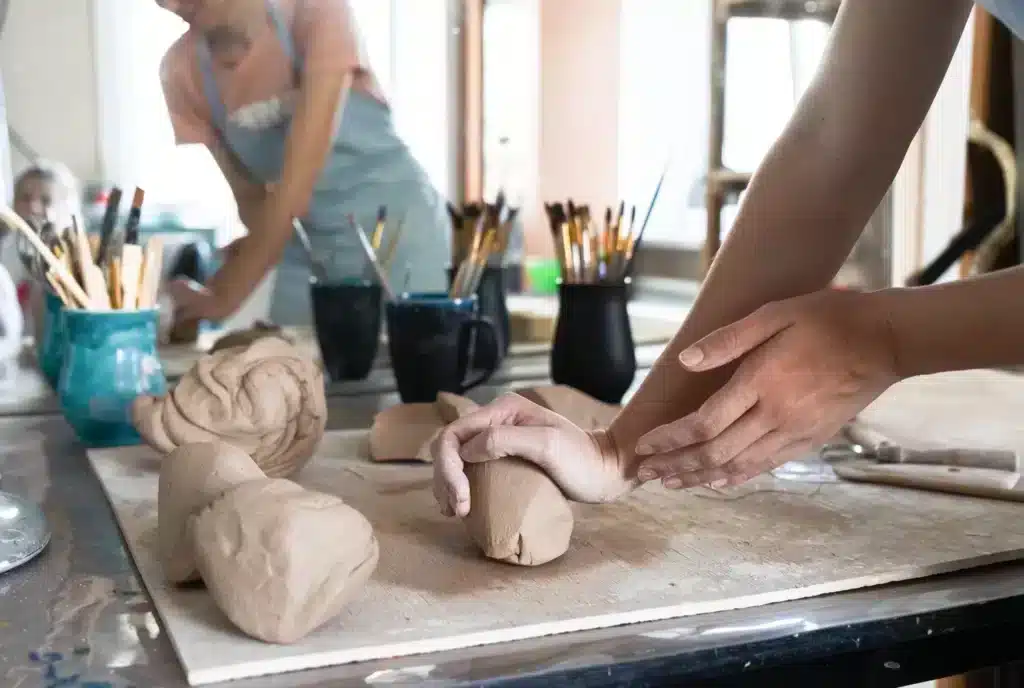
Want to prevent cracks and air bubbles in your clay creations? The right wedging technique can lay the perfect foundation for a sturdy, smooth result.
Before you can start throwing, you need to prepare your clay properly. This ensures the moisture inthe clay is evenly distributed, there are no air bubbles, and the clay particles are aligned evenly. Wedging is the key. There are various techniques you can use to achieve this.
You need two things for both techniques: a clean work surface, and a piece of clay. If you are using new clay, cut a piece from the pack with your cutting wire,, roughly in the shape of a brick.
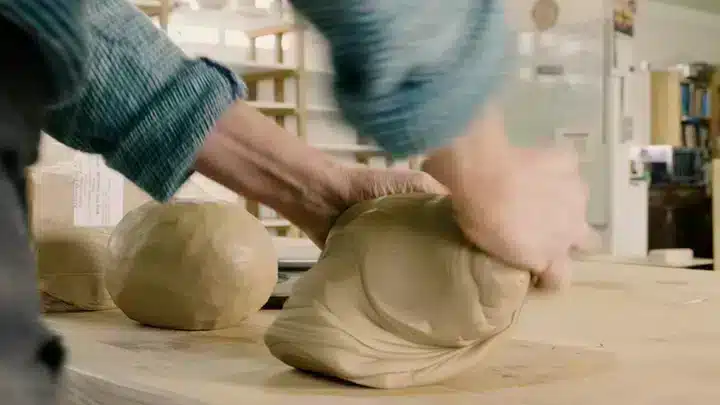
Ram's head wedging
With this method, while wedging, the clay takes on the shape of an ram’s head: two eyes and a nose. Place the brick on its side, with the long side against the work surface. Cup both ends of the brick with the palms of your hands.
Push the clay away from you, against the surface. This will cause the clay to roll over itself. Pay attention, do not push the clay down.
Use the sides of your hands to bring the clay back towards you.
Repeat these steps several times.
Be careful not to fold the clay on itself, as you would do with bread dough. This creates air bubbles in the clay, and that’s exactly what we want to avoid.
Be careful not to fold the clay on itself, as you would do with bread dough. After all, that creates air bubbles in the clay, and that’s exactly what we want to avoid.
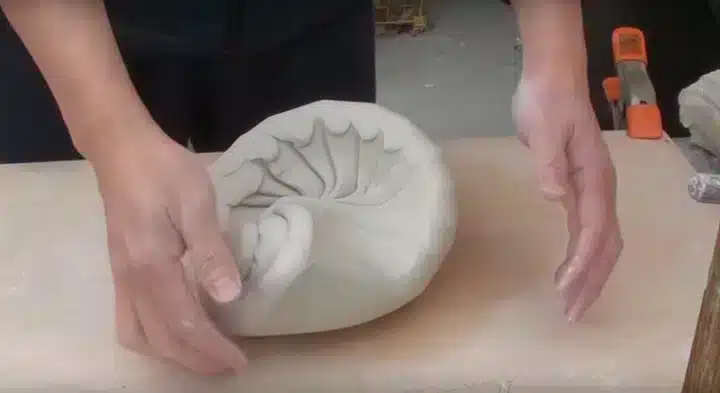
Spiral wedging
This alternative method involves shaping the clay into the shape of a spiral, or shell.
Place the brick on its side with one of the short sides against the work surface. Cup the top of the brick with your palms.
Push the clay away from you, against the surface. his time, however, push at a slight angle to the left, rather than straight ahead.
Use the sides of your hands to pull the clay back towards you while rotating it at the same time.
Repeat these steps several times.
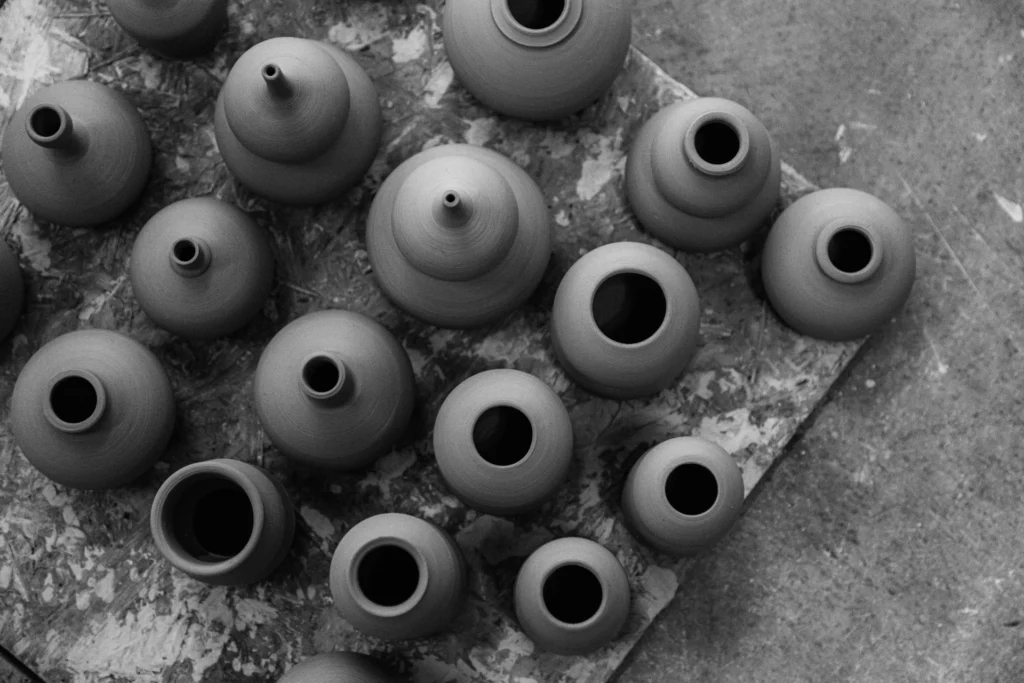
Finishing
Do you want to use the wedged clay for throwing? Then make sure you shape your piece of clay into a nice ball. After all, centring and pulling up clay is difficult enough without bumps and dents. Good luck!
Check out all of the online courses we offer and dive into the world of clay!
To provide the best experience, we use technologies such as cookies to store and/or access information about your device. By consenting to these technologies, we may process data such as browsing behaviour or unique IDs on this site. If you do not consent or withdraw your consent, certain features and functions may be adversely affected.
Functional
Always active
The technical storage or access is strictly necessary for the legitimate purpose of enabling the use of a specific service expressly requested by the subscriber or user, or for the sole purpose of carrying out the transmission of a communication over an electronic communications network.
Voorkeuren
De technische opslag of toegang is noodzakelijk voor het legitieme doel voorkeuren op te slaan die niet door de abonnee of gebruiker zijn aangevraagd.
Statistiscs
Technical storage or access used exclusively for statistical purposes.De technische opslag of toegang die uitsluitend wordt gebruikt voor anonieme statistische doeleinden. Zonder dagvaarding, vrijwillige naleving door uw Internet Service Provider, of aanvullende gegevens van een derde partij, kan informatie die alleen voor dit doel wordt opgeslagen of opgehaald gewoonlijk niet worden gebruikt om je te identificeren.
Marketing
The technical storage or access is necessary to create user profiles for sending advertising, or to track the user on a website or across different websites for similar marketing purposes.