You can polish a piece on the potter’s wheel by securing it with clay balls when it is leather hard, as you do when trimming, and then going over the surface with a hard object. This works well with the flat side of a metal rib, or with a smooth stone.
When your pot is completely dry, you can also polish it further by rubbing it with oil, and then going over it with a plastic bag or a piece of cling film. That way, you can make your pot shine completely.
Once you’ve polished a pot, it’s not a good idea to glaze it afterwards. Polishing will completely seal the pores on the outside of your pot, and your pot will no longer absorb the glaze properly, with unsightly results. But, as always, experimentation is recommended!
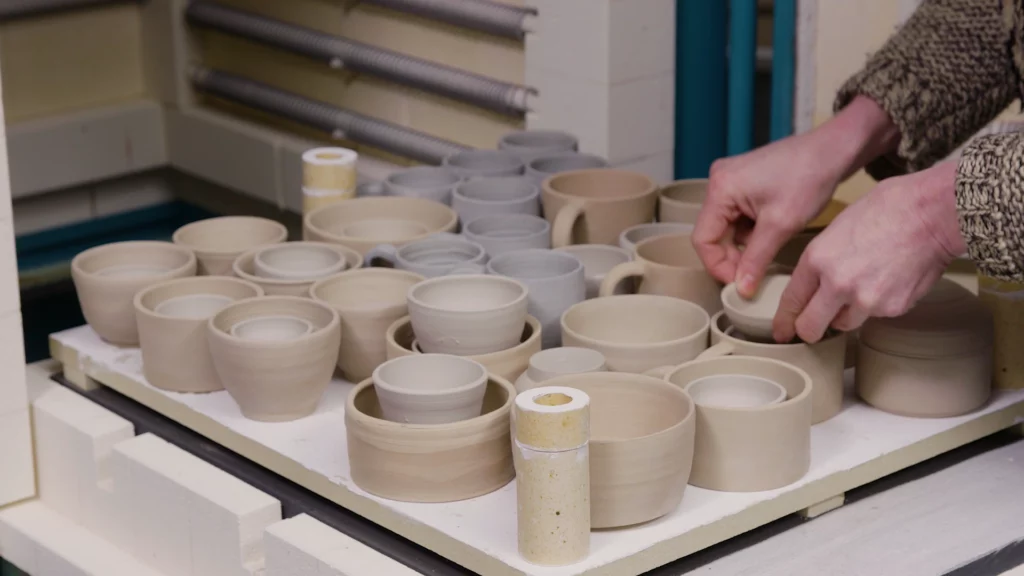
I personally like to polish the bottoms of cups, mugs, bowls and vases, because they remain unglazed, and this way you get a soft, smooth bottom. So no scratches on your kitchen worktop. And it’s a nice technique to then continue firing in a muffle or applying terra sigillata.
Polishing without a potter’s wheel is of course also possible, but that is a lot more work, because it is much slower by hand. But… perseverance wins!