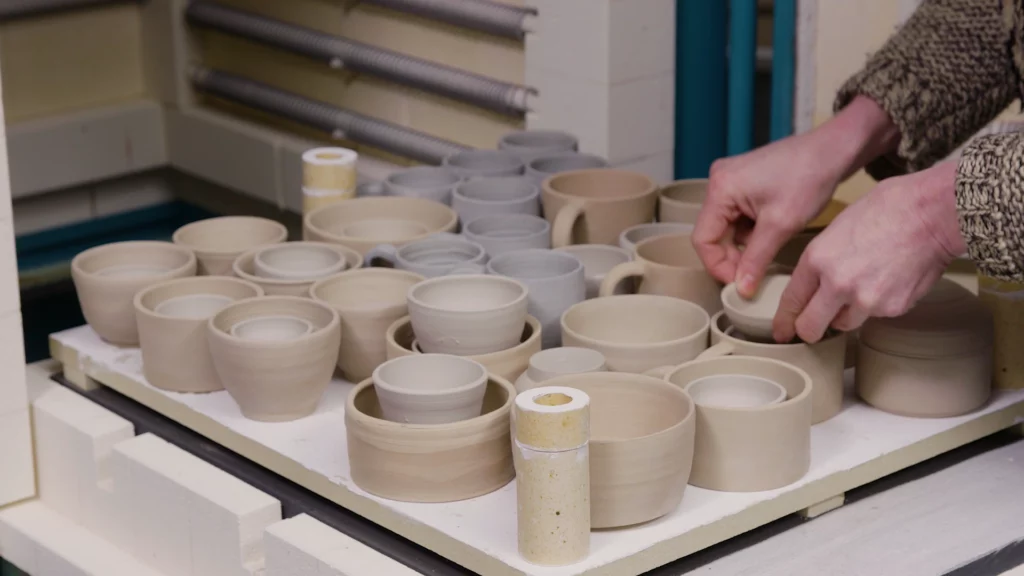
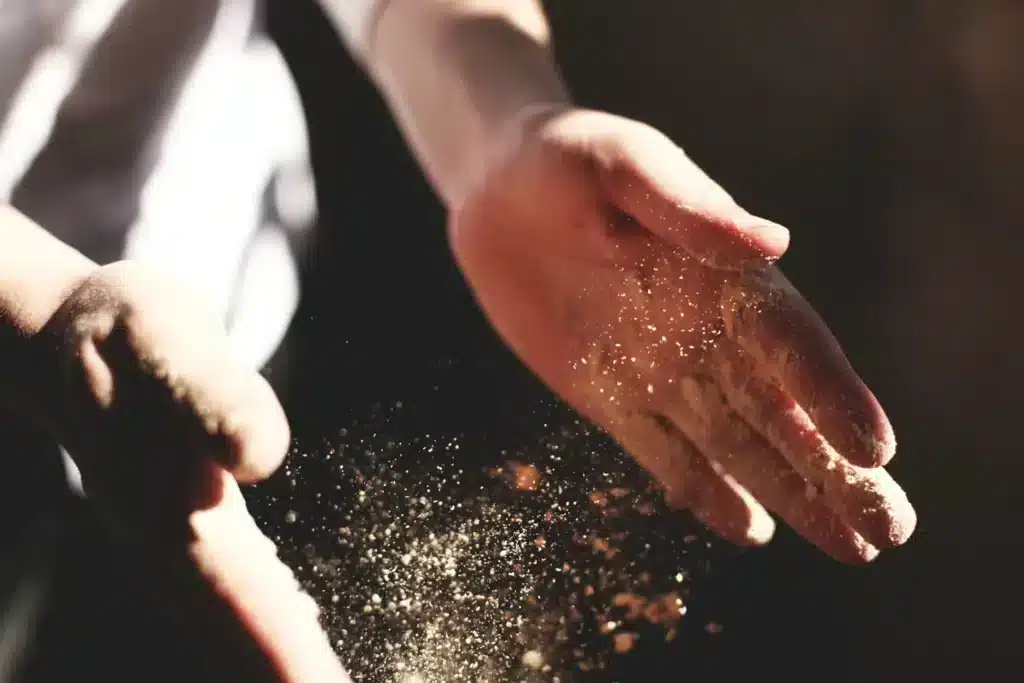
That’s because drying or dried clay constantly releases dust. Fine dust that finds its way into every nook and cranny.
No harm done, you might think, since clay itself is fairly harmless. But it really is better to keep too much of that fine dust out of your lungs. Too much exposure to fine clay dust can eventually lead to dust lung or silicosis, and that’s obviously something you want to avoid.
So the message is clear: keep your studio as dust-free as you can. But how do you go about it?
Keeping the dust down
There’s no getting around it: making ceramics always creates dust. But you can certainly try to keep that dust within limits.
- When wedging. Some wedging techniques create more dust than others. Some ceramicists wedge their clay by throwing it down, stacking it, cutting through it and throwing it down again. This technique produces more dust than the ram’s head or spiral method. ou can also cut down on dust by regularly wiping your work surface with a damp cloth. Just make sure you don’t leave the surface wet, as that makes wedging a good deal harder.
- When burnishing. Make sure your piece is as smooth as possible before you let it dry. That way you’ll have less burnishing to do, and so less dust to deal with. If you can, head outside to burnish your work.
- When admiring your results. Don’t simply blow the dust off your finished piece. Where do you think all that dust ends up? Step outside to spare your studio, or blow it over a bucket of water or a damp cloth, so the dust settles there rather than in the room.
Cleaning your studio
Even if you do everything you can to keep dust in your studio to a minimum, it will never be completely dust-free. Which means it’s time to clean.
Best to leave the feather dusters, sweeping brushes and vacuum cleaners well alone. They’re mainly good at shifting dust particles about without actually removing them. So how do you go about it instead?
- Clean your tools with warm water. Larger tools, such as your wheel, can be wiped down with a damp cloth.
- Go over your work surface(s) with a wet sponge or cloth. Repeat this step if you notice the surface drying with streaks.
- Mop the floor. If you’re working in a small space, you can use your sponge or cloth for this too.
- Rinse your mop, sponge and cloth thoroughly with plenty of water. That way they’re ready to go for next time.
It’ll keep you busy for a little while, but after this routine your clay studio is completely dust-free again. Ready to get delightfully dirty again for your next piece!