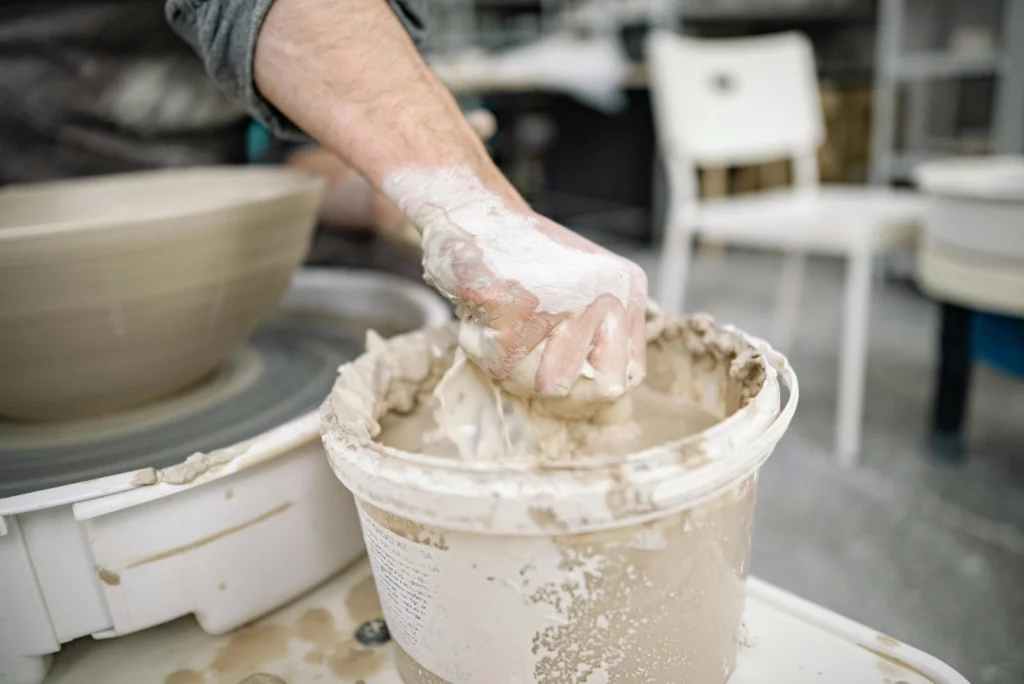
If you were to look at clay under a microscope, you would see tiny clay plates in a criss-cross pattern. As long as the clay contains enough water, these plates can slide over each other and stick together at the same time. And that means you can knead the clay. If the clay contains too much water, the plates won’t stick together anymore. That means the clay will no longer hold its shape.
It’s frustrating if that was not your intention, but clay slip is a very useful form of clay, which you can use for lots of things. We’ve created a short list.
Clay slip used as glue
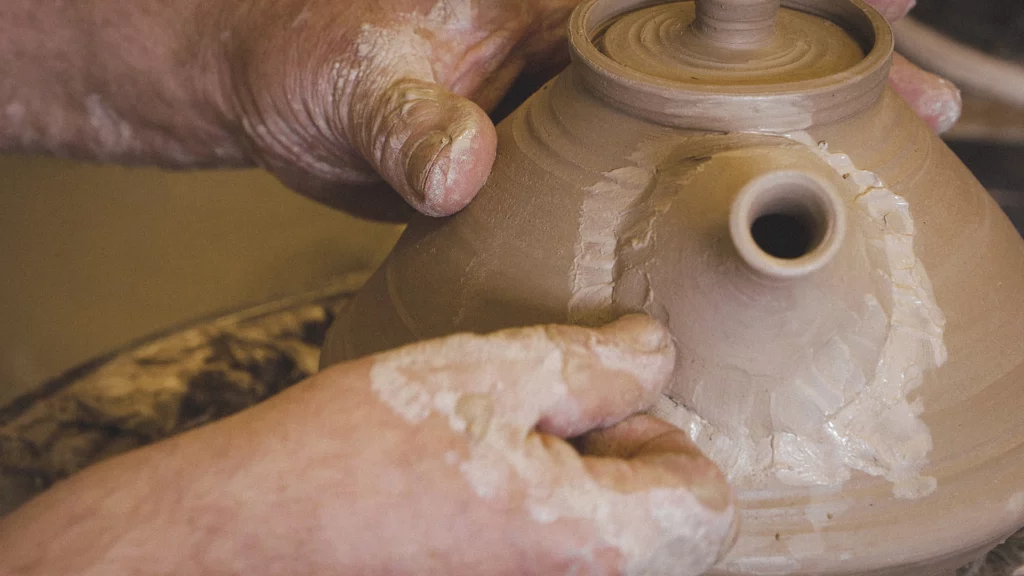
A spout to a teapot, a handle to a lid, a bottom to a vase … clay slip is often used to attach the different parts of your creation to each other. For best results, first make some scratches on both components, in the spot where they come together, then apply clay slip and bring the two parts together with firm pressure.
How thick or thin the slip should be, depends on your pot. Is it still quite damp? Then you should use a relatively liquid slip. Is it already pretty dry? Then you’re better of with a thicker slip.
The important part is that you use slip that has the same consistency as the clay your pot is made of. The safest is to make slip out of the clay you are using. That way you are sure the slip will dry at the same speed, and will shrink the same amount in the kiln.
Clay slip as decoration
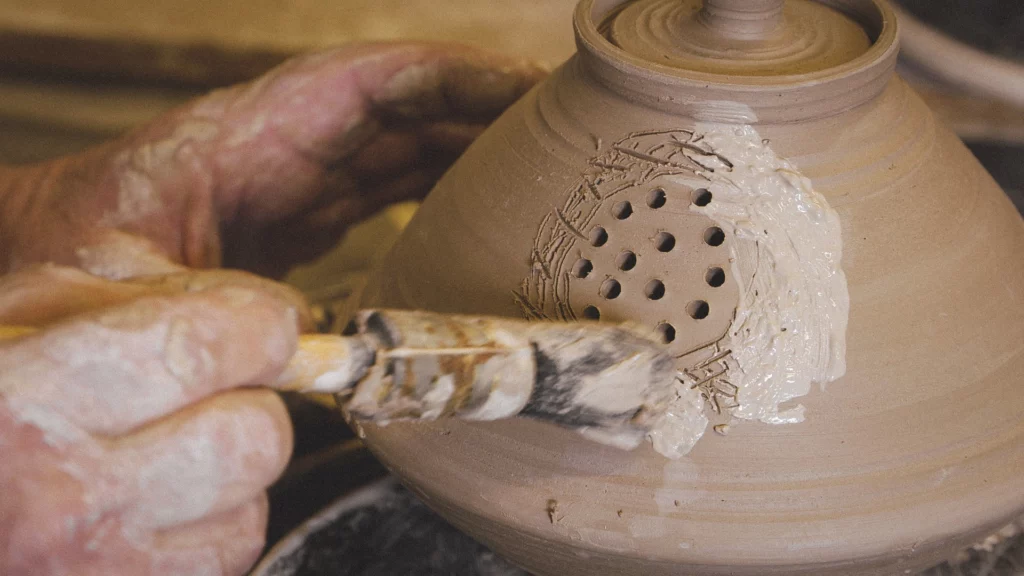
Adding slip is one of the oldest ways to decorate pottery. Makes sense, after all it doesn’t require much: clay and water is all you need. For example, how about creating a pattern with texture?
There are many ways to decorate with clay slip. You can dunk your pot, you can use a brush to create patterns and textures or you can apply the slip very finely and precisely, for example with an slip trailer.
Do you want to achieve a colour different from the natural colour of your clay? Then you can add pigments or metal oxides to the slip.
Read more inthis article on engobe techniques and this one on painting with clay slip.


Clay slip in a casting mould
There’s more to explore than wheel throwing and handbuilding alone: you can achieve beautiful results with moulds. A bonus to this method is that you can easily make several copies of the same shape.
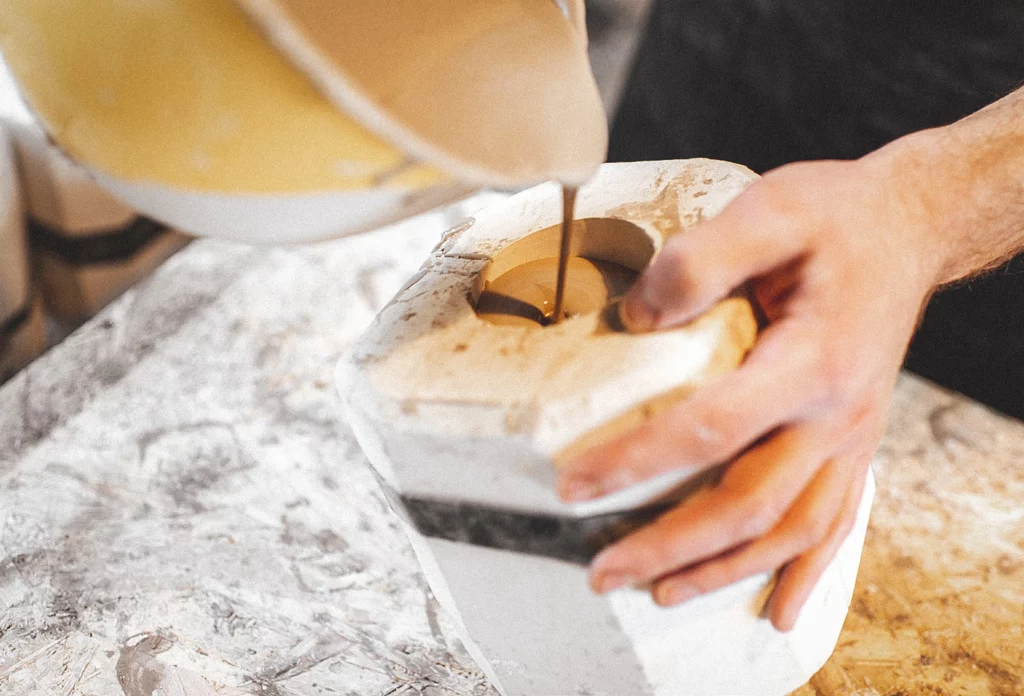
If you want to use a casting mould, you need clay slip. This allows you to pour your clay into the mould while it’s liquid. The mould will then extract and absorb the water from the slip. This cause the clay to shrink, so you can easily take your creation out of the mould. Be aware: When using casting moulds, it’s best to use clay specifically meant for casting. This type of clay has specific properties that make it very suitable to use with moulds.
In other words...
Clay slip is insanely versatile. It’s easy to use but also complicated, because the optimal consistency and composition of your slip depends so much on what you want to use it for. Just like so many things in the world of pottery, it is a process of trial and error. Until you develop a natural intuition for clay. Practice makes perfect!
Need a refresher on what the different stages of clay look like? Download our easy overview of the stages of clay here and refresh your memory!


