If you own a studio, you already know that it is important not to pour clay slip and clay residue down your sink. You really don’t want your pipes to get clogged. Fortunately, there is a way to prevent this, it just takes some organization and thought. We’ll give you a peek at how it’s done in most (home) studios.
First of all, pouring clay slip down your sink is a bad idea because it will get your pipes clogged, but it is also a waste, because you need that slip to recycle clay. Thick residues of clay slip are best saved and allowed to dry to rework into usable clay. What we want to talk about here is the clay water and clay sludge created by washing off materials and polishing your studio. That water and sludge is no longer pure enough to use in recycled clay.
Start at the beginning: avoid too much clay slip and water waste
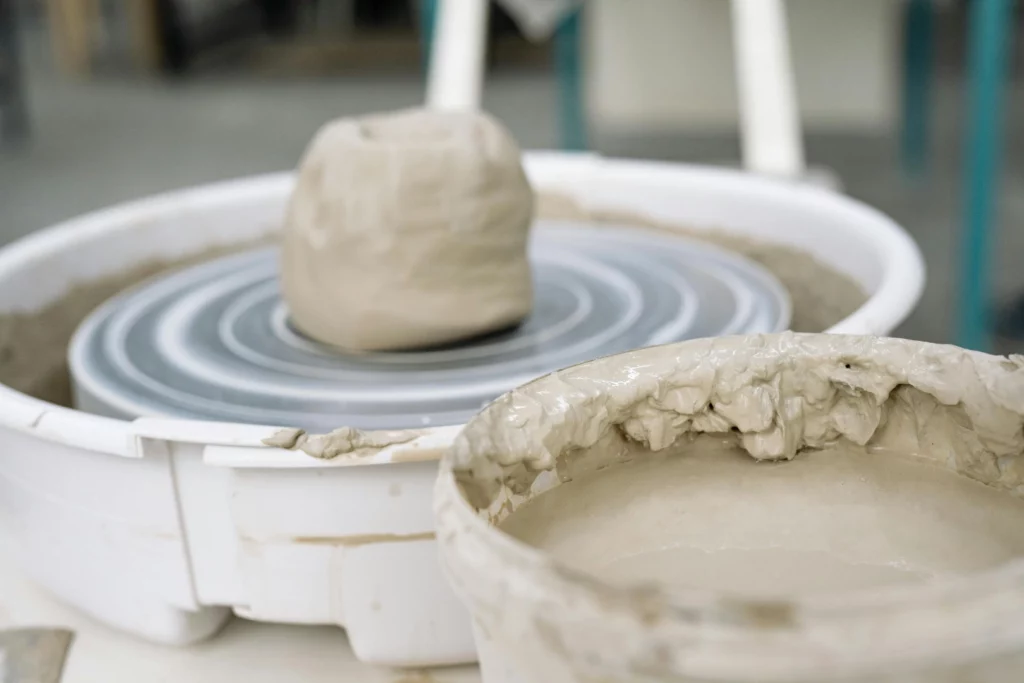
Potters in particular have to deal with a lot of clay slip. You can save tap water and thus avoid huge amounts of slip by keeping one thing in mind: reuse as much water as possible. Here’s how you do it:
- Throw with two buckets or containers: one with water and one to remove the slip from your hands, to squeeze your sponge, to scrape off your ribs. That way your throwing water stays ‘water’ for longer and doesn’t become slip as quickly. You can let the slip bucket settle and pour the water off into your water bucket the next day to throw with it again.
- Have a large bucket or container in which you collect the throwing slip (and any failed pots) to later add to the dry clay to make recycled clay. There will also be water on there, pour that off occasionally to use as throwing water. You can also soak it up with a sponge.
- First, empty the splash pan of your potter’s wheel over the slip bucket so that most of the clay is gone. Then you can clean it further with a wet cloth. You really don’t have to clean your clay equipment under running water after every throwing session.
- So cleaning your tools can be perfectly done in a separate bucket, or basin. You don’t have to replace that water every time, you can get by with it for a while. Again, the clay will settle in the water. You can pour off the water, let the sludge dry out and throw it away.
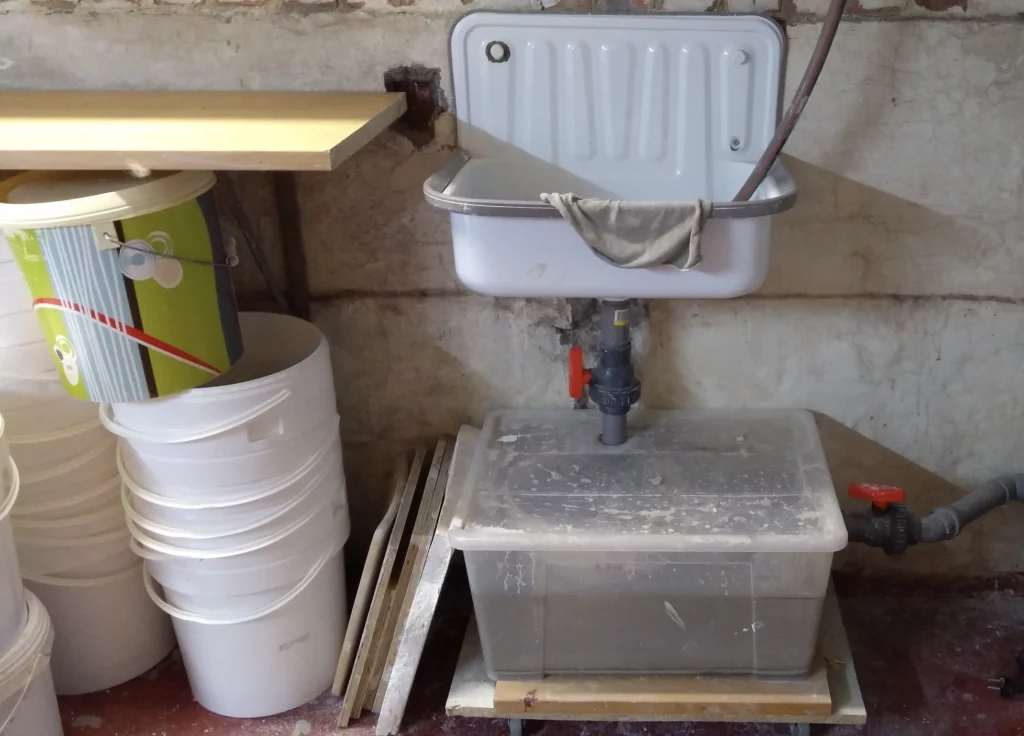
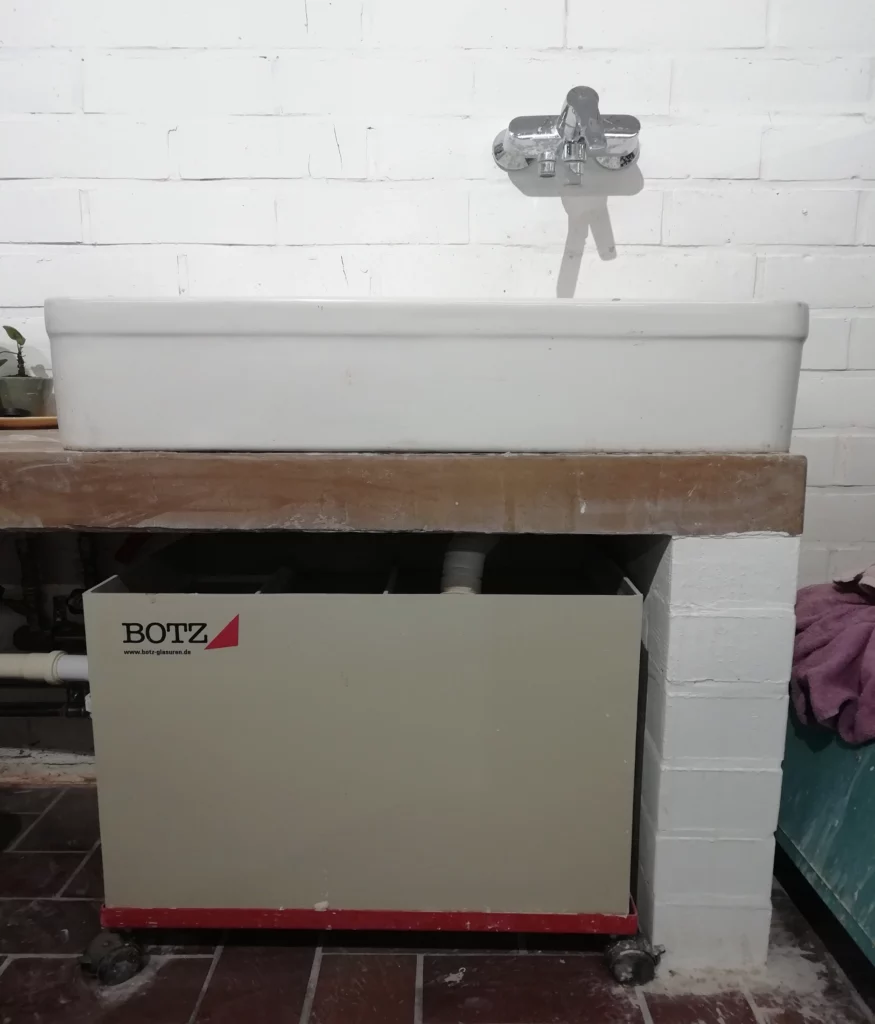
Use a clay trap or sedimentation tank at the sink
euIf you have a large studio, you can work with a system under your sink: a clay sedimentation tank, a clay settling tank or clay trap.
Dit zorgt ervoor dat het water dat uit de gootsteen komt als het ware gefilterd wordt voordat het in de afvoer terechtkomt.
Meestal gaat het water langs drie compartimenten, de klei bezinkt en het water dat uit het laatste deel komt is grotendeels kleivrij en kan zo in de afvoer en de riolering.
Occasionally you need to remove the clay sludge that collects at the bottom, because in time it will start to smell. Depending on the purity of this sludge, you may be able to use it in clay recycling. But in that case, you have to be really sure that no other things have gone down your sink. So no coffee residue, no glaze or water used to clean glaze material and no polishing water. If the sludge is not clean you can let the clay residue dry and take it to the recycling park or environmental station by the stone debris.
You can buy a clay trap, there is one from the Botz brand, and you can find it in most pottery supply stores. But if you are just a little bit handy yourself, you can make one yourself with stuff from the DIY store. A good tutorial for a DIY sink can be found here and here.
How one of our students is handling this
Marjorie has a little clay workshop in the garage and is mostly busy throwing on the wheel – There is a tap in the garage, but no sink. But this too can work perfectly!
“I always throw with two buckets: one for water, one for everything else: wiping off slip, squeezing out sponge, collecting failed pots. After a throwing session I just cover the buckets, that way the clay can sink and the water comes to the top. I also have two large buckets: One for the dry clay residue, trimmings, and dry failed pots. And one for the throwing slip. These two will later be combined for recycling clay. When I start a throwing session, I collect water first 😉 : I pour the water from the two throwing buckets into a fresh bucket. The slip that remains goes into the big slip bucket. If the slip bucket has a layer of water, I also sponge that out to use as throwing water. The splash pan I empty in my slip throwing bucket, and I also clean most of the clay away from the small equipment. To really clean, I have a small bucket of water for tools and surfaces. And a bucket of seperate water for the floor. I replace these only weekly or so, by pouring them off into a bucket of ‘dirty water’. That bucket I let settle. The water I drain in the garden 😉 and the slip I let dry to take to the recycling depot.”


