When you first start throwing, you mainly produce waste: Failed pots, collapsed pots, shavings that fall off the wheel in curls and sludge that builds up in the tray. It can feel like a lot of waste, especially when you consider how much clay costs and how much you use in a single learning session.
But clay doesn’t go to waste. It dries out, it cracks and it sometimes smells, but it’s never truly lost. With a bit of organisation, you can extract usable pottery clay from every scrap. Over time, you’ll find yourself largely working with reclaimed material.
Why bother?
Aster Caemaert has been working with mixtures of recycled clay for years, and she actually enjoys the fact that the result is never entirely predictable. Not everyone wants that uncertainty, but it shows that recycled clay is not inferior to fresh clay — it’s simply a different material.
The three fractions
Before you start recycling, it’s worth understanding what you actually have. Not all scraps are the same, and the way you process them differs too. Aster follows a rule of thumb that sums up the logic well: dry with dry, wet with wet, slurry with slurry. Mixing these fractions together before processing them makes things unnecessarily difficult.
Slip is the grey-brown liquid that collects in the bowl of your potter’s wheel or settles at the bottom of a bucket. It is clay that has been broken down so finely in water that it has become a liquid. Although slip is the most labour-intensive fraction because a lot of water has to be removed before it can be used, it is also the fraction that is easiest to homogenise again — precisely because everything is already so finely dispersed.
Dry trimmings are the thin flakes and curls that come off while you are throwing your pot. They are bone-dry and brittle, but this is desirable as dry clay is easiest to rehydrate, with no partially dry areas absorbing water unevenly. Place them in a bucket of water and leave them to soak until they have completely dissolved.
Failed pots and leather-hard pieces present the biggest challenge. If the clay is leather-hard but not fired, break it into small pieces and soak them as you would dry trimmings. The further along the drying process the clay is, the longer it will take to dissolve. Completely dry pots that haven’t been fired yet will also dissolve in water, but this will take longer. Once fired, the clay — i.e. the ceramics — becomes irreversible and cannot be recovered.

Plasterboard: your home drying station
Recovering slib without a machine largely revolves around plasterboard. Plasterboard has the property of absorbing water, and a thick sheet — at least four to five centimetres — can draw large amounts of moisture out of liquid clay without you having to do anything. Simply pour your slurry onto the board in a layer a few centimetres thick, leave it to stand for a day or so, and you will be left with a soft, non-liquid clay that can be divided up and left to dry further or used straight away.
Plasterboards are relatively inexpensive and available from pottery suppliers. Alternatively, you can cast them yourself in a wooden mould. Make sure that no plaster residue ends up in your clay, as even a tiny piece of plaster fired with it can cause a pot to crack from the inside due to the heat.
If you’re short on space at home, smaller sheets will also work, but you’ll then be working with smaller quantities at a time. Some potters work with several sheets, using them in rotation: one sheet has slip drying on it, while another has clay that is drier and is being left to set further.
From slurry to mouldable clay: the process
The process of turning liquid slurry into mouldable clay is as follows: Pour your slurry onto the plasterboard and leave it to dry until the mass is firm enough to pick up without deforming, but still soft enough to knead. How long this takes depends on the thickness of your layer, the temperature, and the humidity. In winter, in a cold studio, it takes longer than in summer.
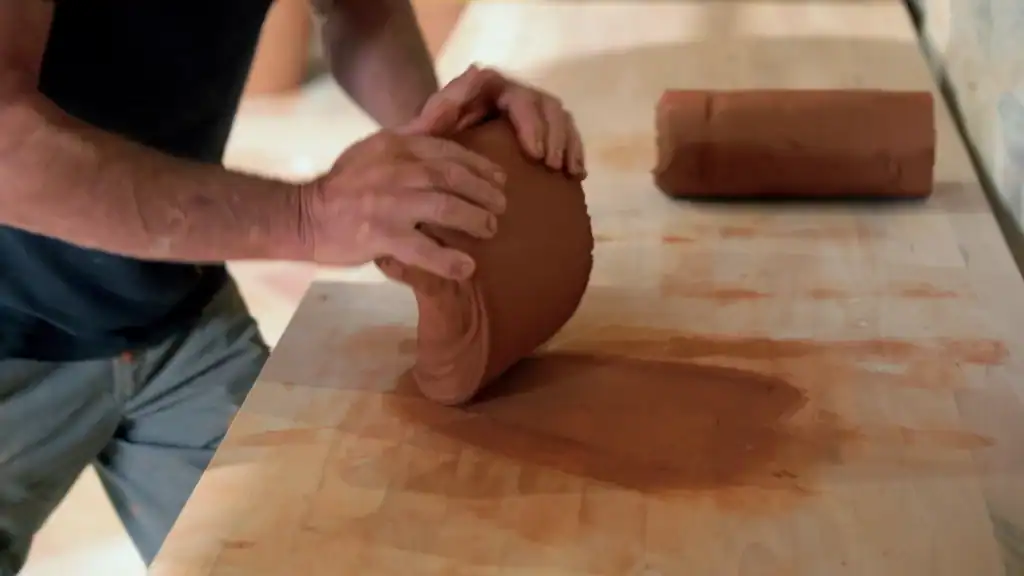
Once the mass has the right consistency, remove it from the sheet and start kneading. Recycled clay is rarely perfectly homogeneous from the outset; there are always areas that are slightly drier or wetter than the rest. Kneading using the ‘ox head’ or ‘spiral’ method evens out this uneven distribution.

Adding fresh clay: pretty much always a good idea
Reclaimed clay on its own is rarely ideal for producing large volumes. This is because the particle size distribution of the clay changes during the reclamation process: fine particles dissolve more easily and are recovered more readily, while coarse chamotte sinks to the bottom and is lost. After several reclamation cycles, your clay will gradually become finer and softer.
Adding a portion of fresh clay to each reclaimed batch — roughly a quarter to a third — helps to keep the properties of your mixture more stable. Although it may seem like an additional expense, relative to the amount of clay you reclaim, it is modest.
If you mix different clays in your reclaimed batch — which is almost inevitable unless you’re obsessive about separating them — always check that all the clays fall within the same temperature range. Mixing earthenware and stoneware is not an option as the firing temperatures are too different and the result would be unpredictable.
Working without a pug mill
A pug mill — a machine that mixes and presses clay into a homogeneous roll — makes recycling much more efficient, but they are expensive and take up a lot of space. Most home potters work without one, and that’s perfectly fine. Kneading by hand takes more time and energy, but yields the same result if you’re consistent.
The key is consistency. Recycling works best when you don’t let it pile up into a huge mountain of materials that you then have to process all at once. Small batches, on a regular basis, are easier to manage and yield better results than a monthly recycling marathon.

What if your clay starts to smell?
Clay that remains wet for a long time starts to smell. This is normal: bacteria colonize the organic material in the clay, and the byproducts of their decomposition give off a sour or sometimes even rotten odor. It’s not a sign that your clay is ruined—in fact, slightly fermented clay sometimes throws better than fresh clay, because the bacterial activity makes the clay more pliable.
If the smell is too strong to work with, you can leave the clay out in the open air or spread it out and let it dry before rehydrating it. Baking will eliminate the smell anyway, since anything organic burns off in the oven.
Recycling requires a little organization and a little patience, but it’s one of the habits that make your studio—no matter how small—more sustainable and more economical. And the clay you recover from it throws surprisingly well.
In the online course “Learning to Throw for Beginners” by Aster Caemaert, you’ll not only learn how to throw—she also covers how to organize your workspace, how to work cleanly, and how to handle your materials in a sustainable way.